
Bismuth Part 3 (A closer look)
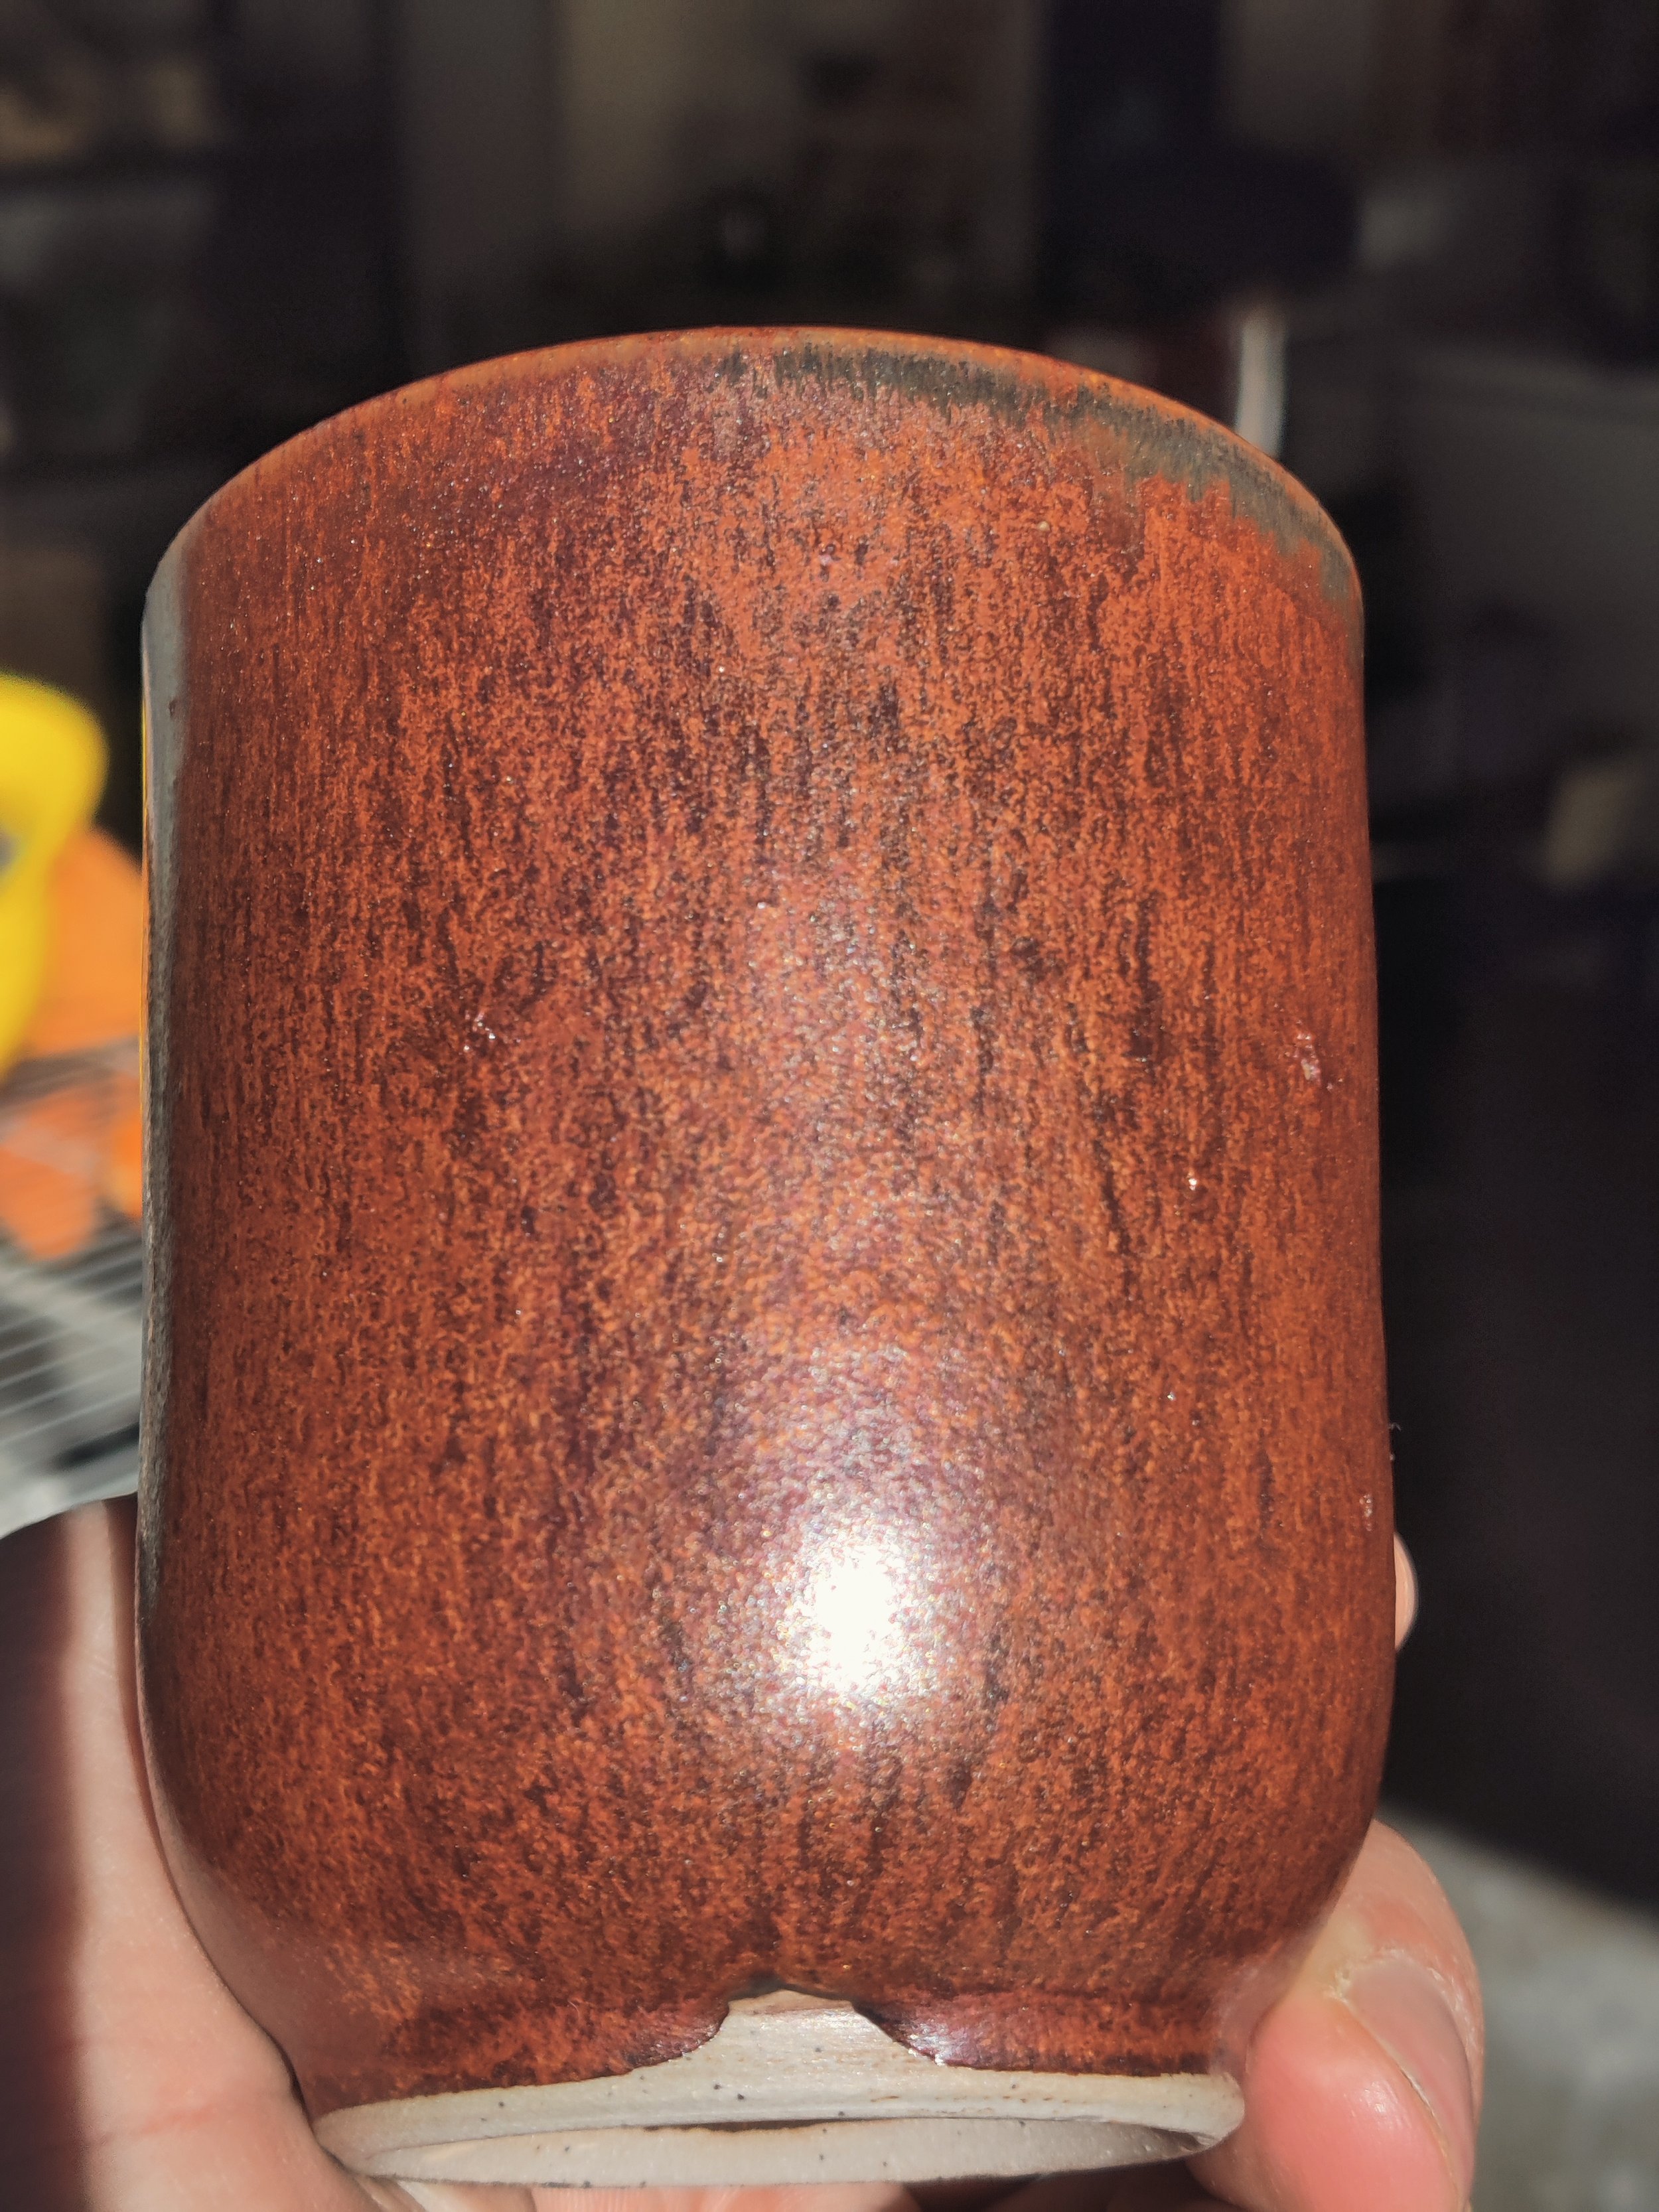
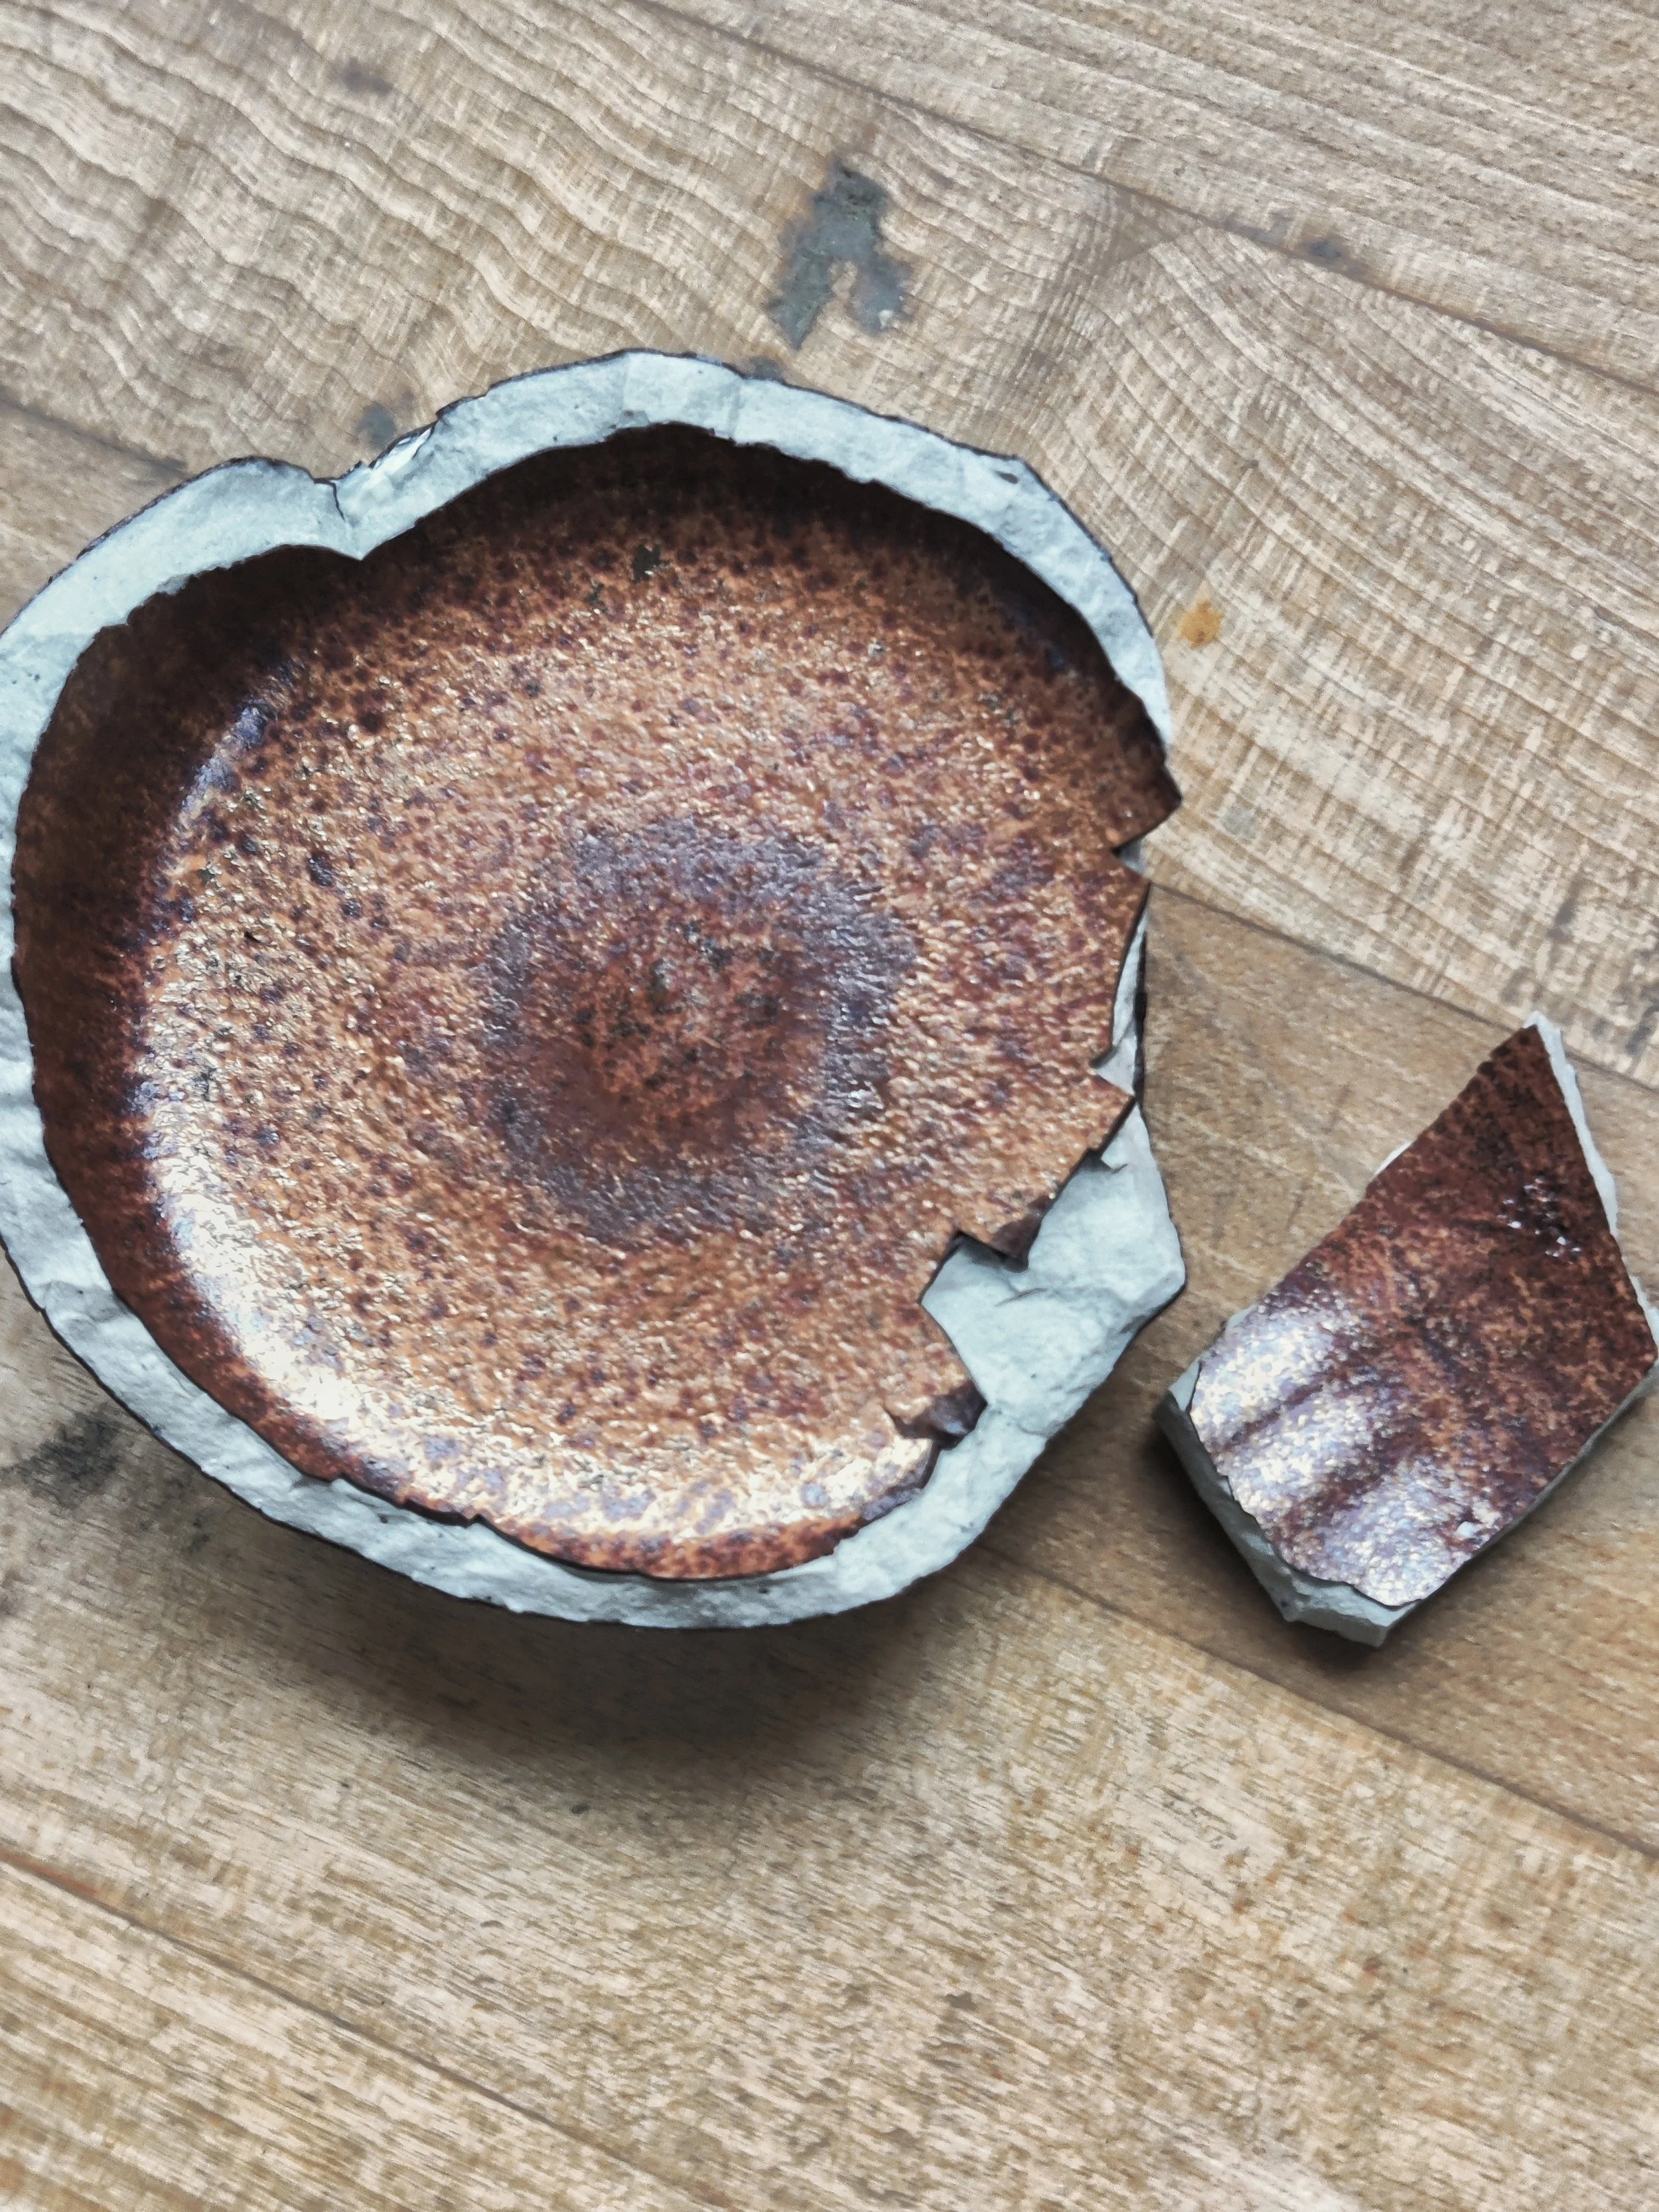
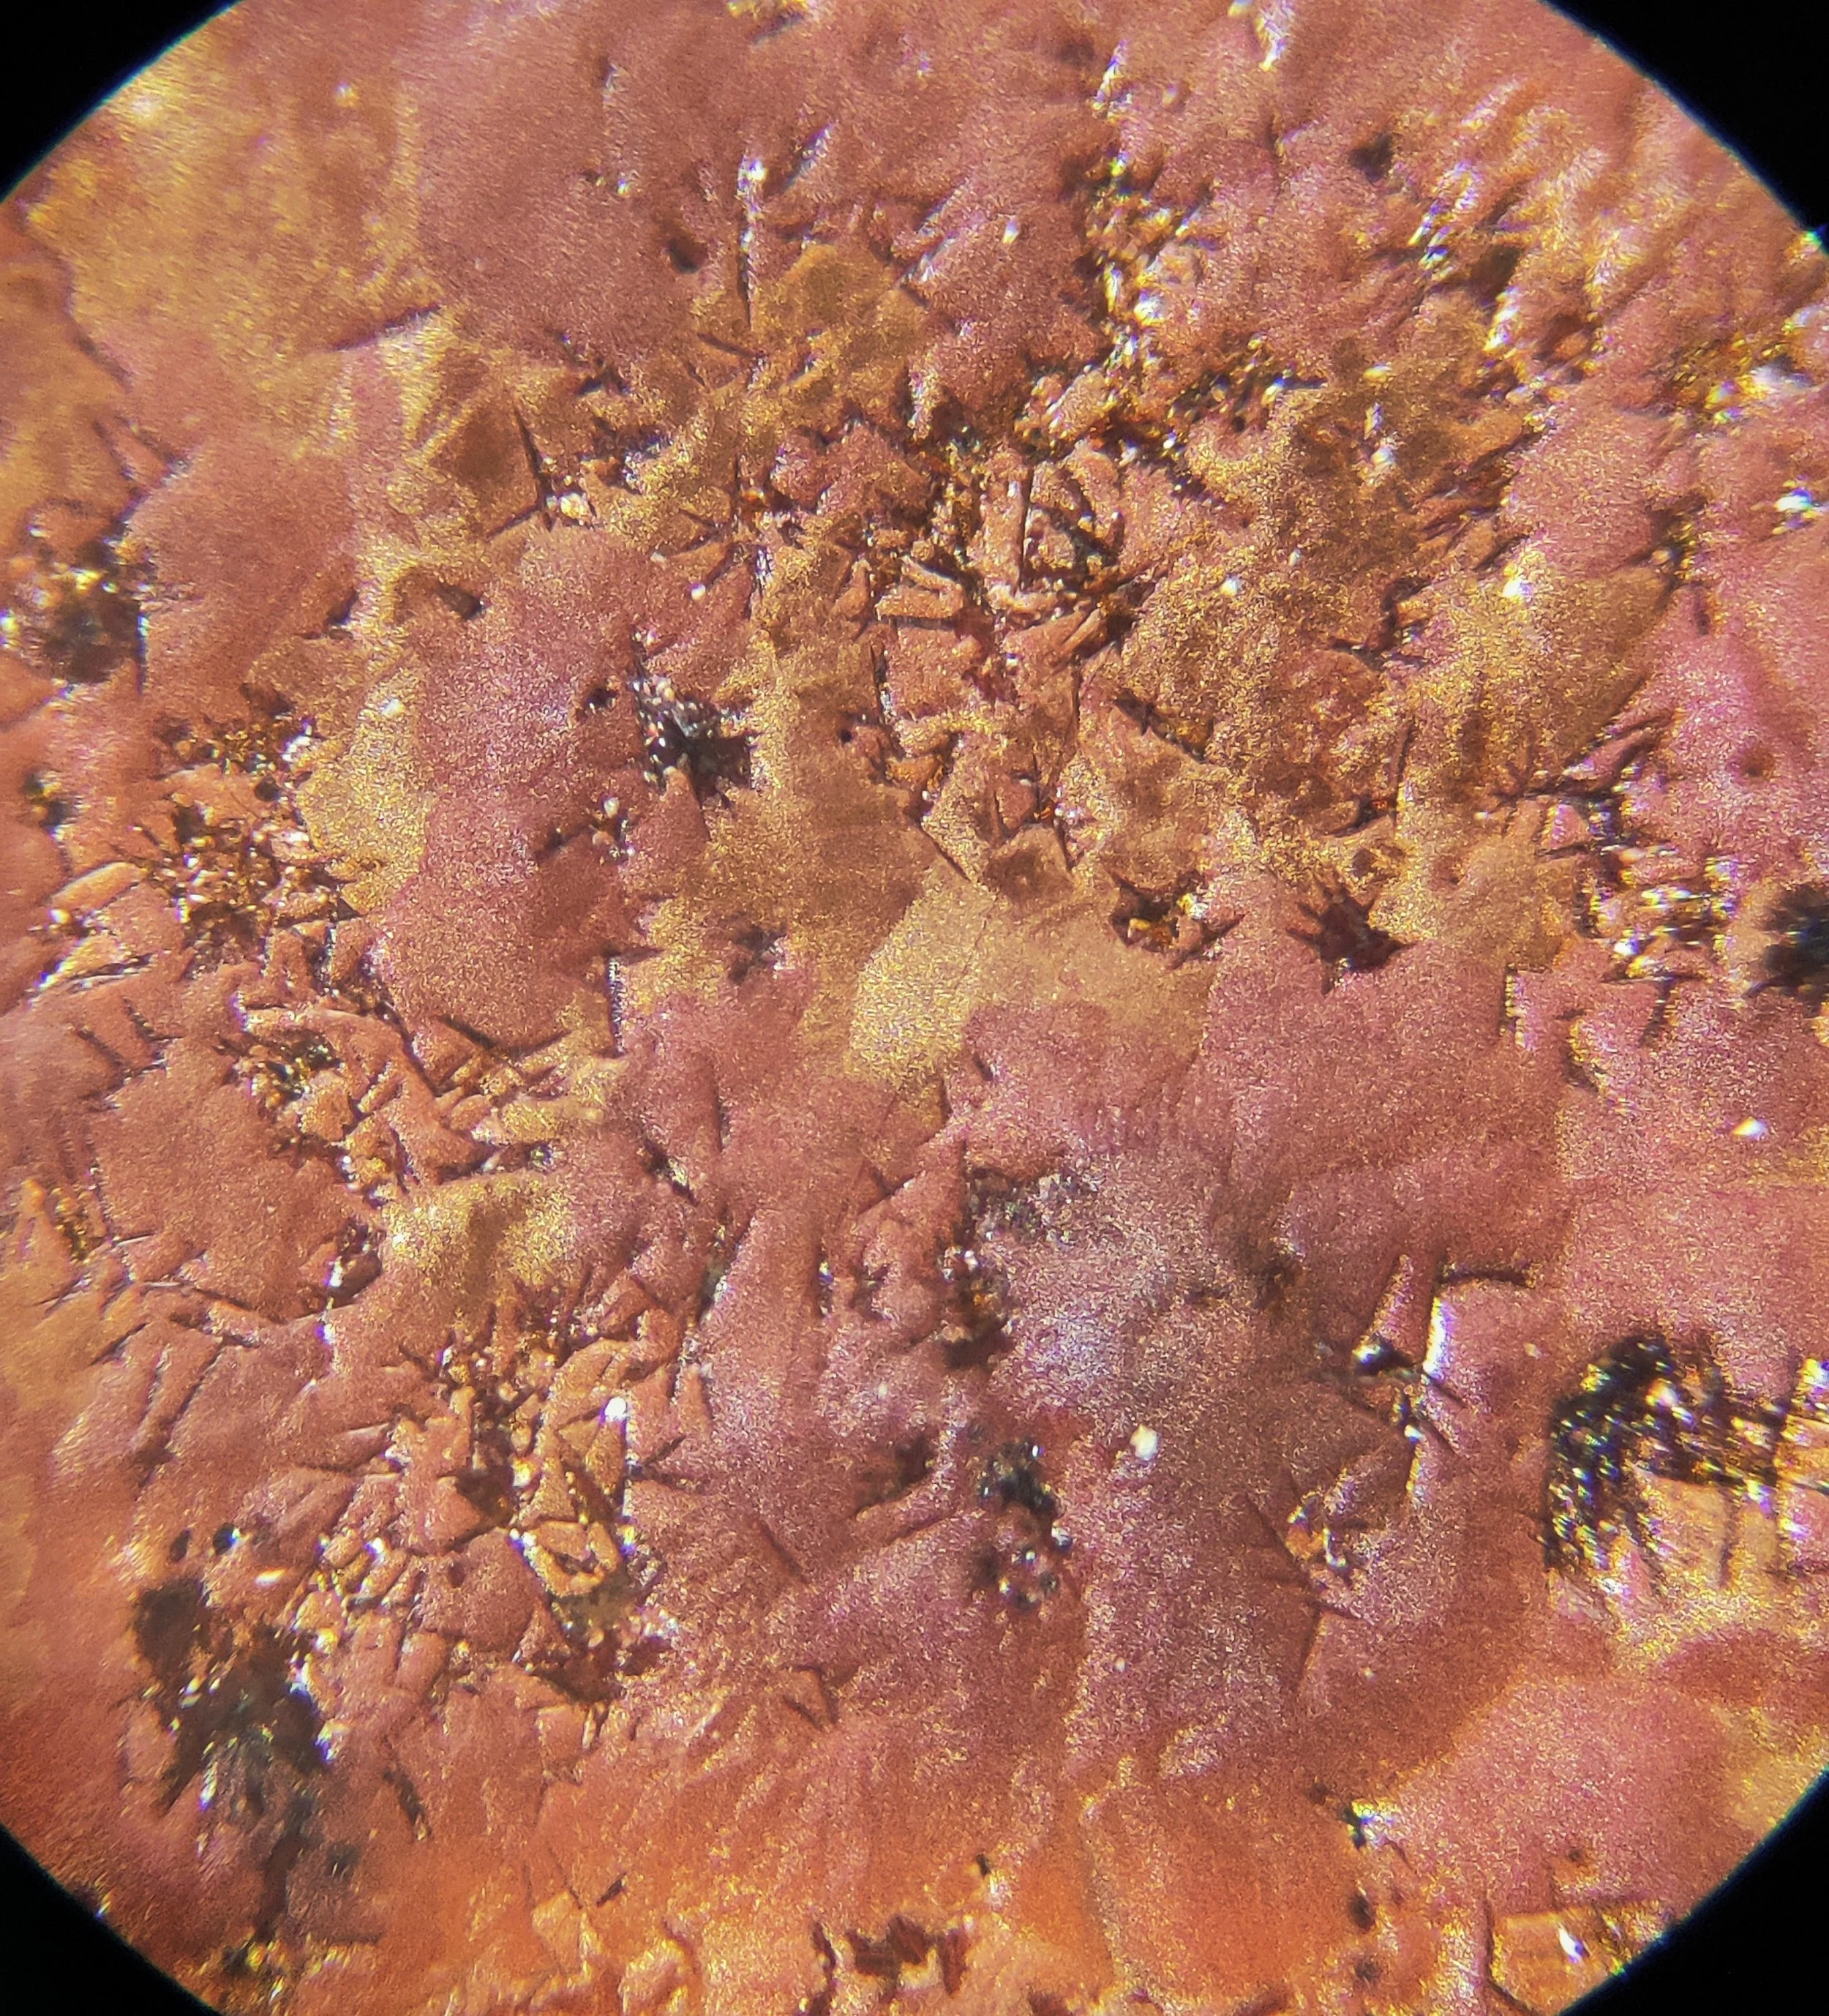
I have recently bought a very cheap microscope; Just to play with. Of course the first thing I did is put some of my test tiles underneath it to see if I could identify anything in the glaze. For example, Make a glaze on a tile, add something to it ( In this case bismuth) and see if you can identify it just by looking at it. Turns out you can. Here is a picture of one of my red glazes without and with bismuth.


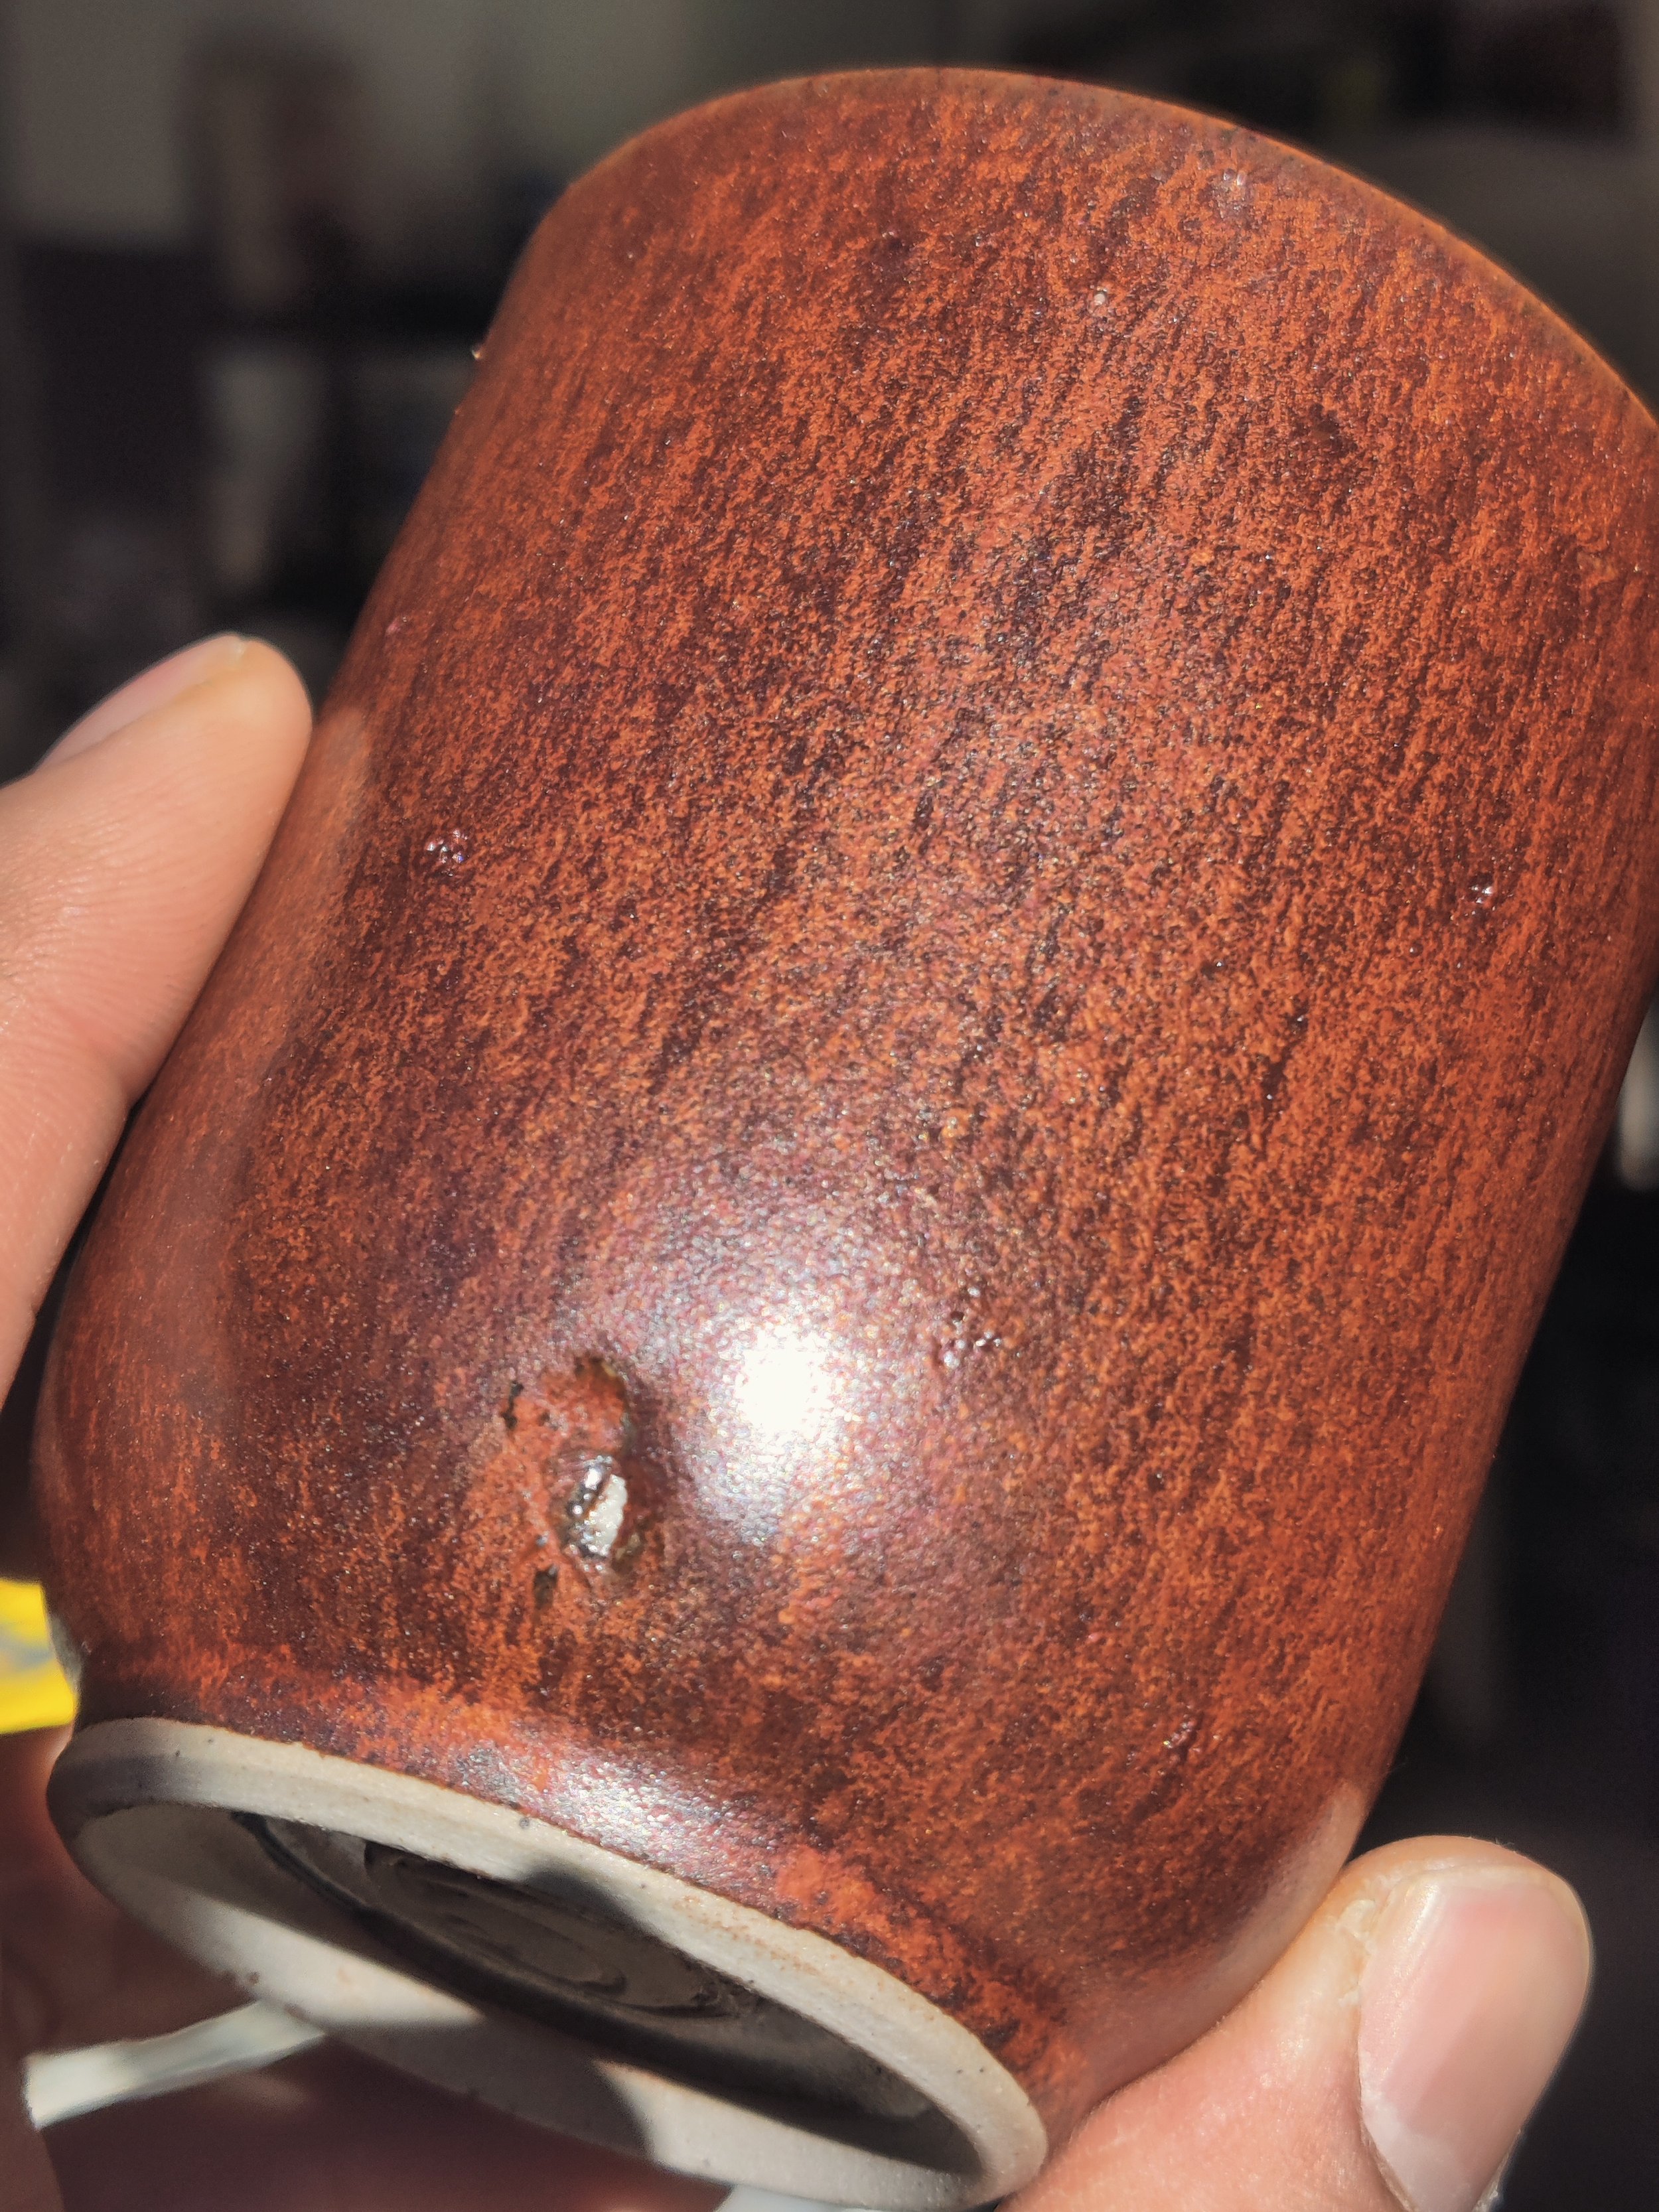
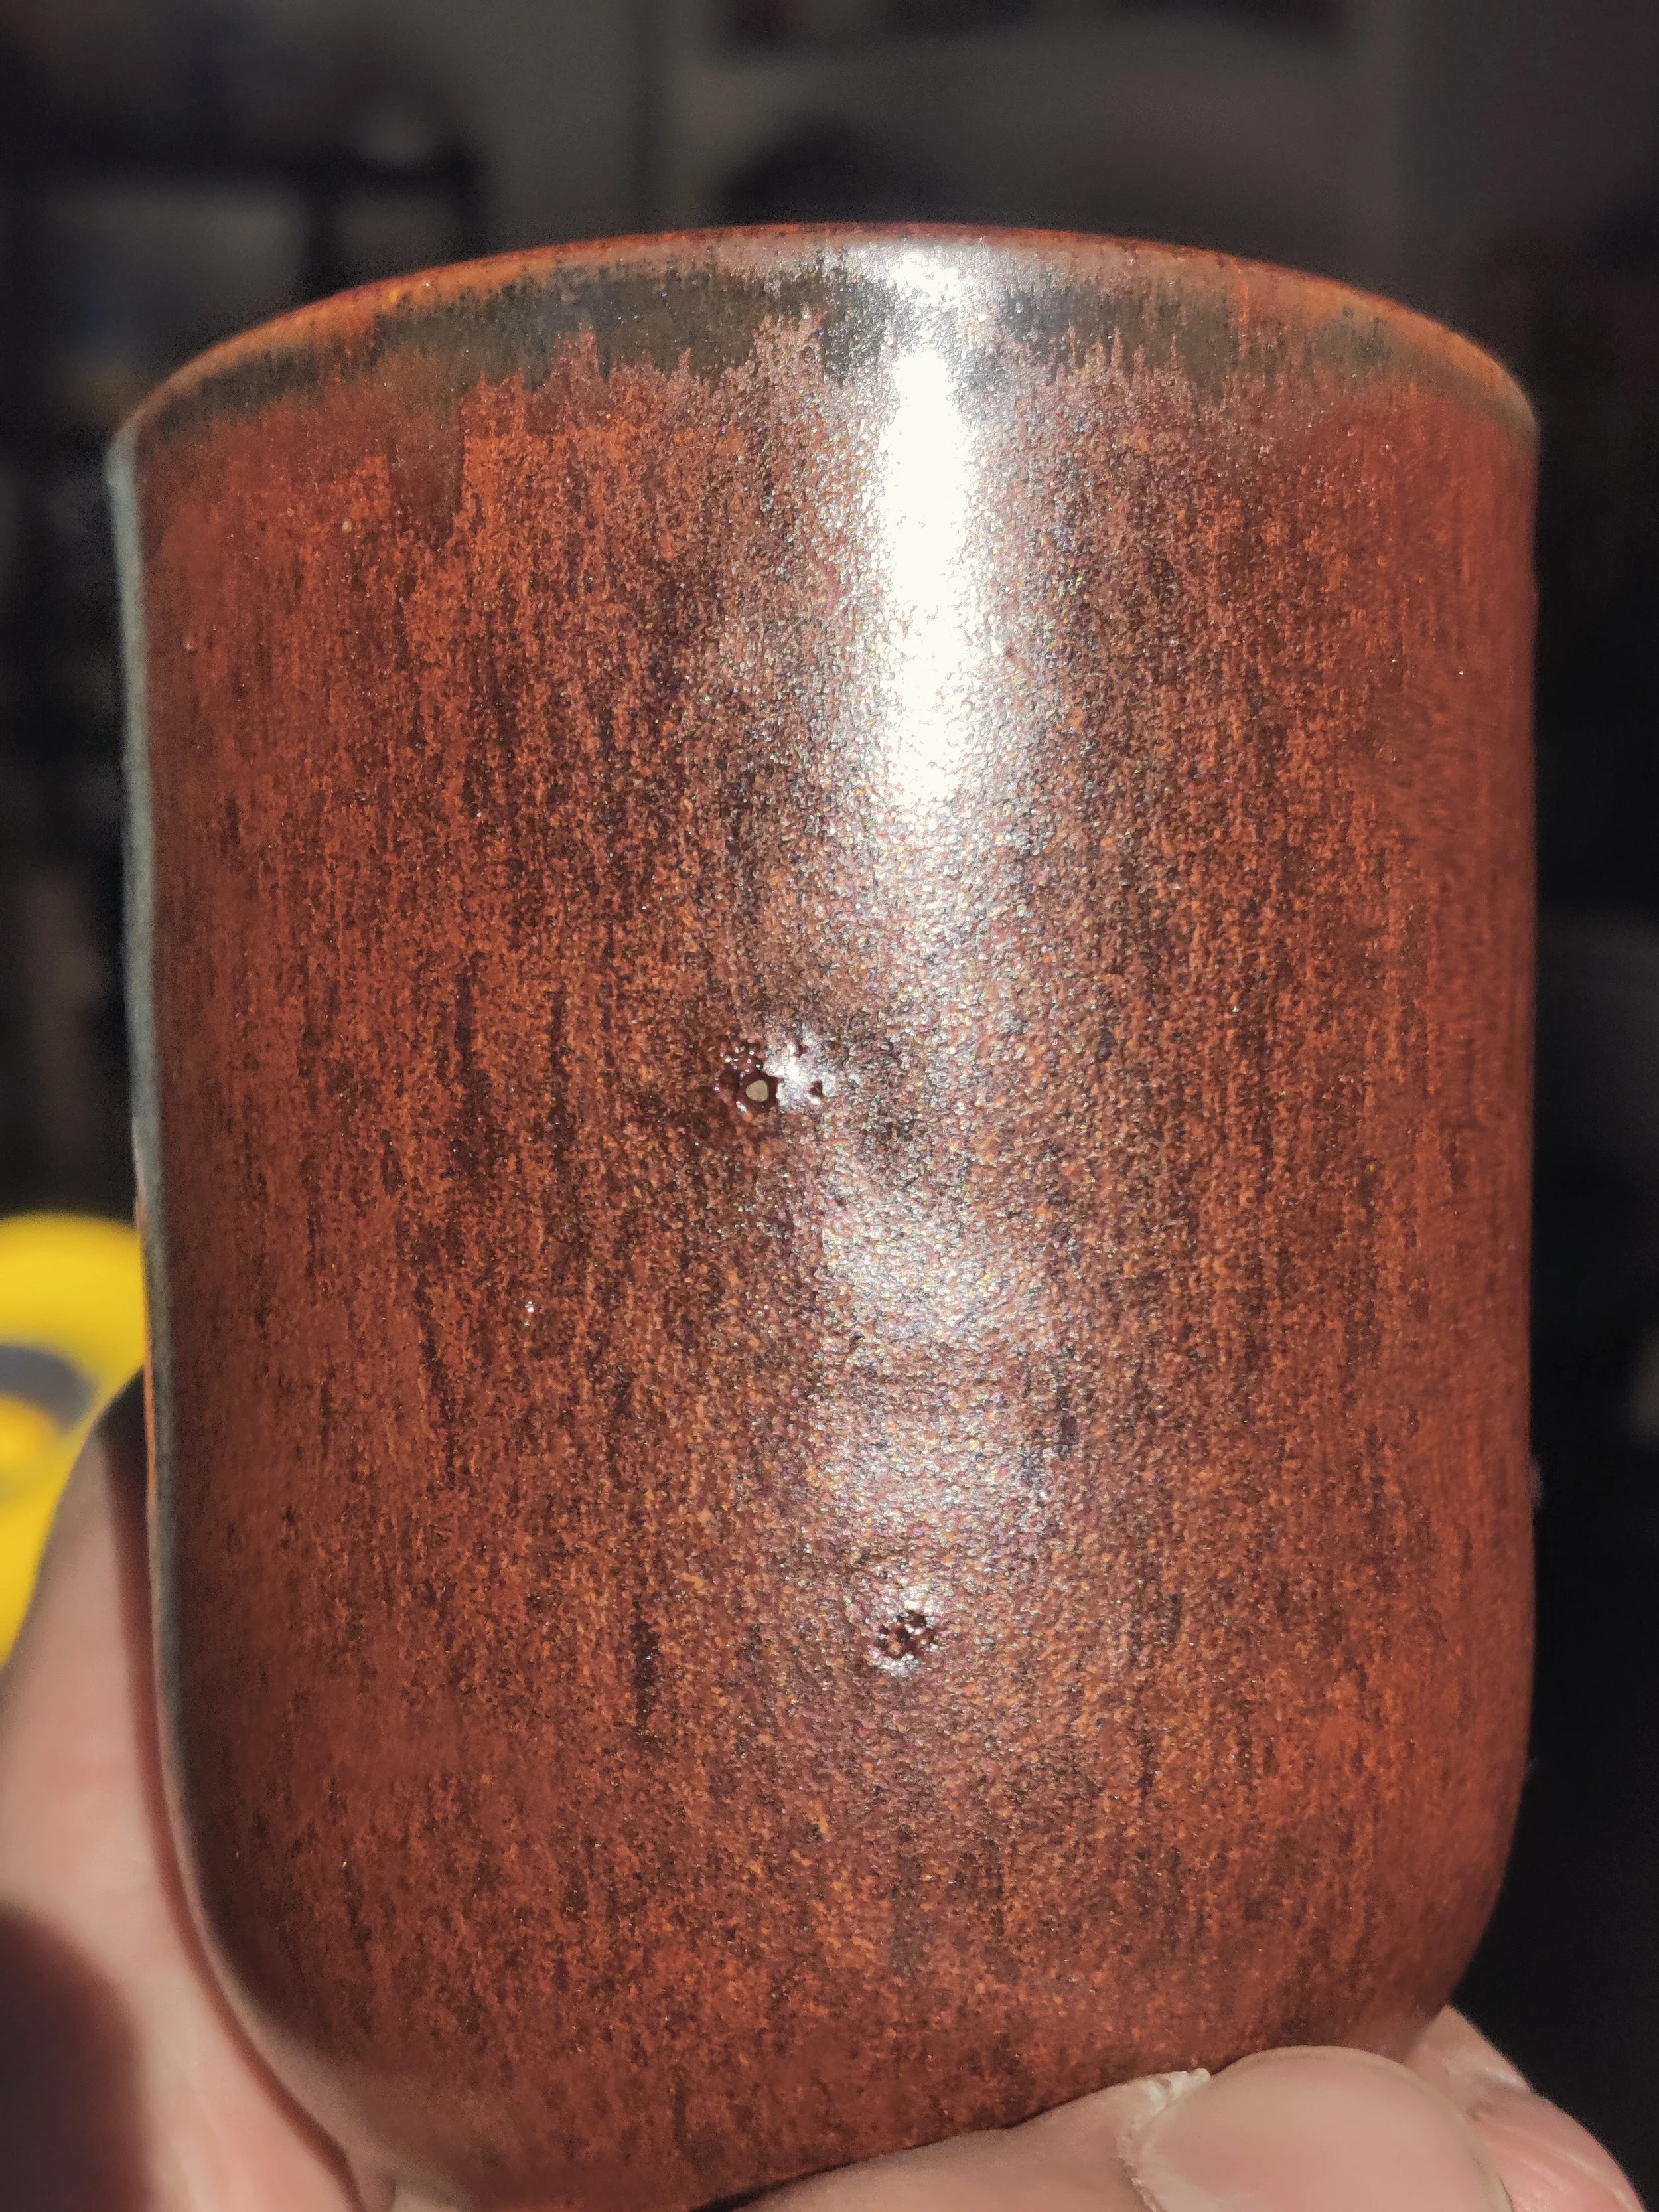
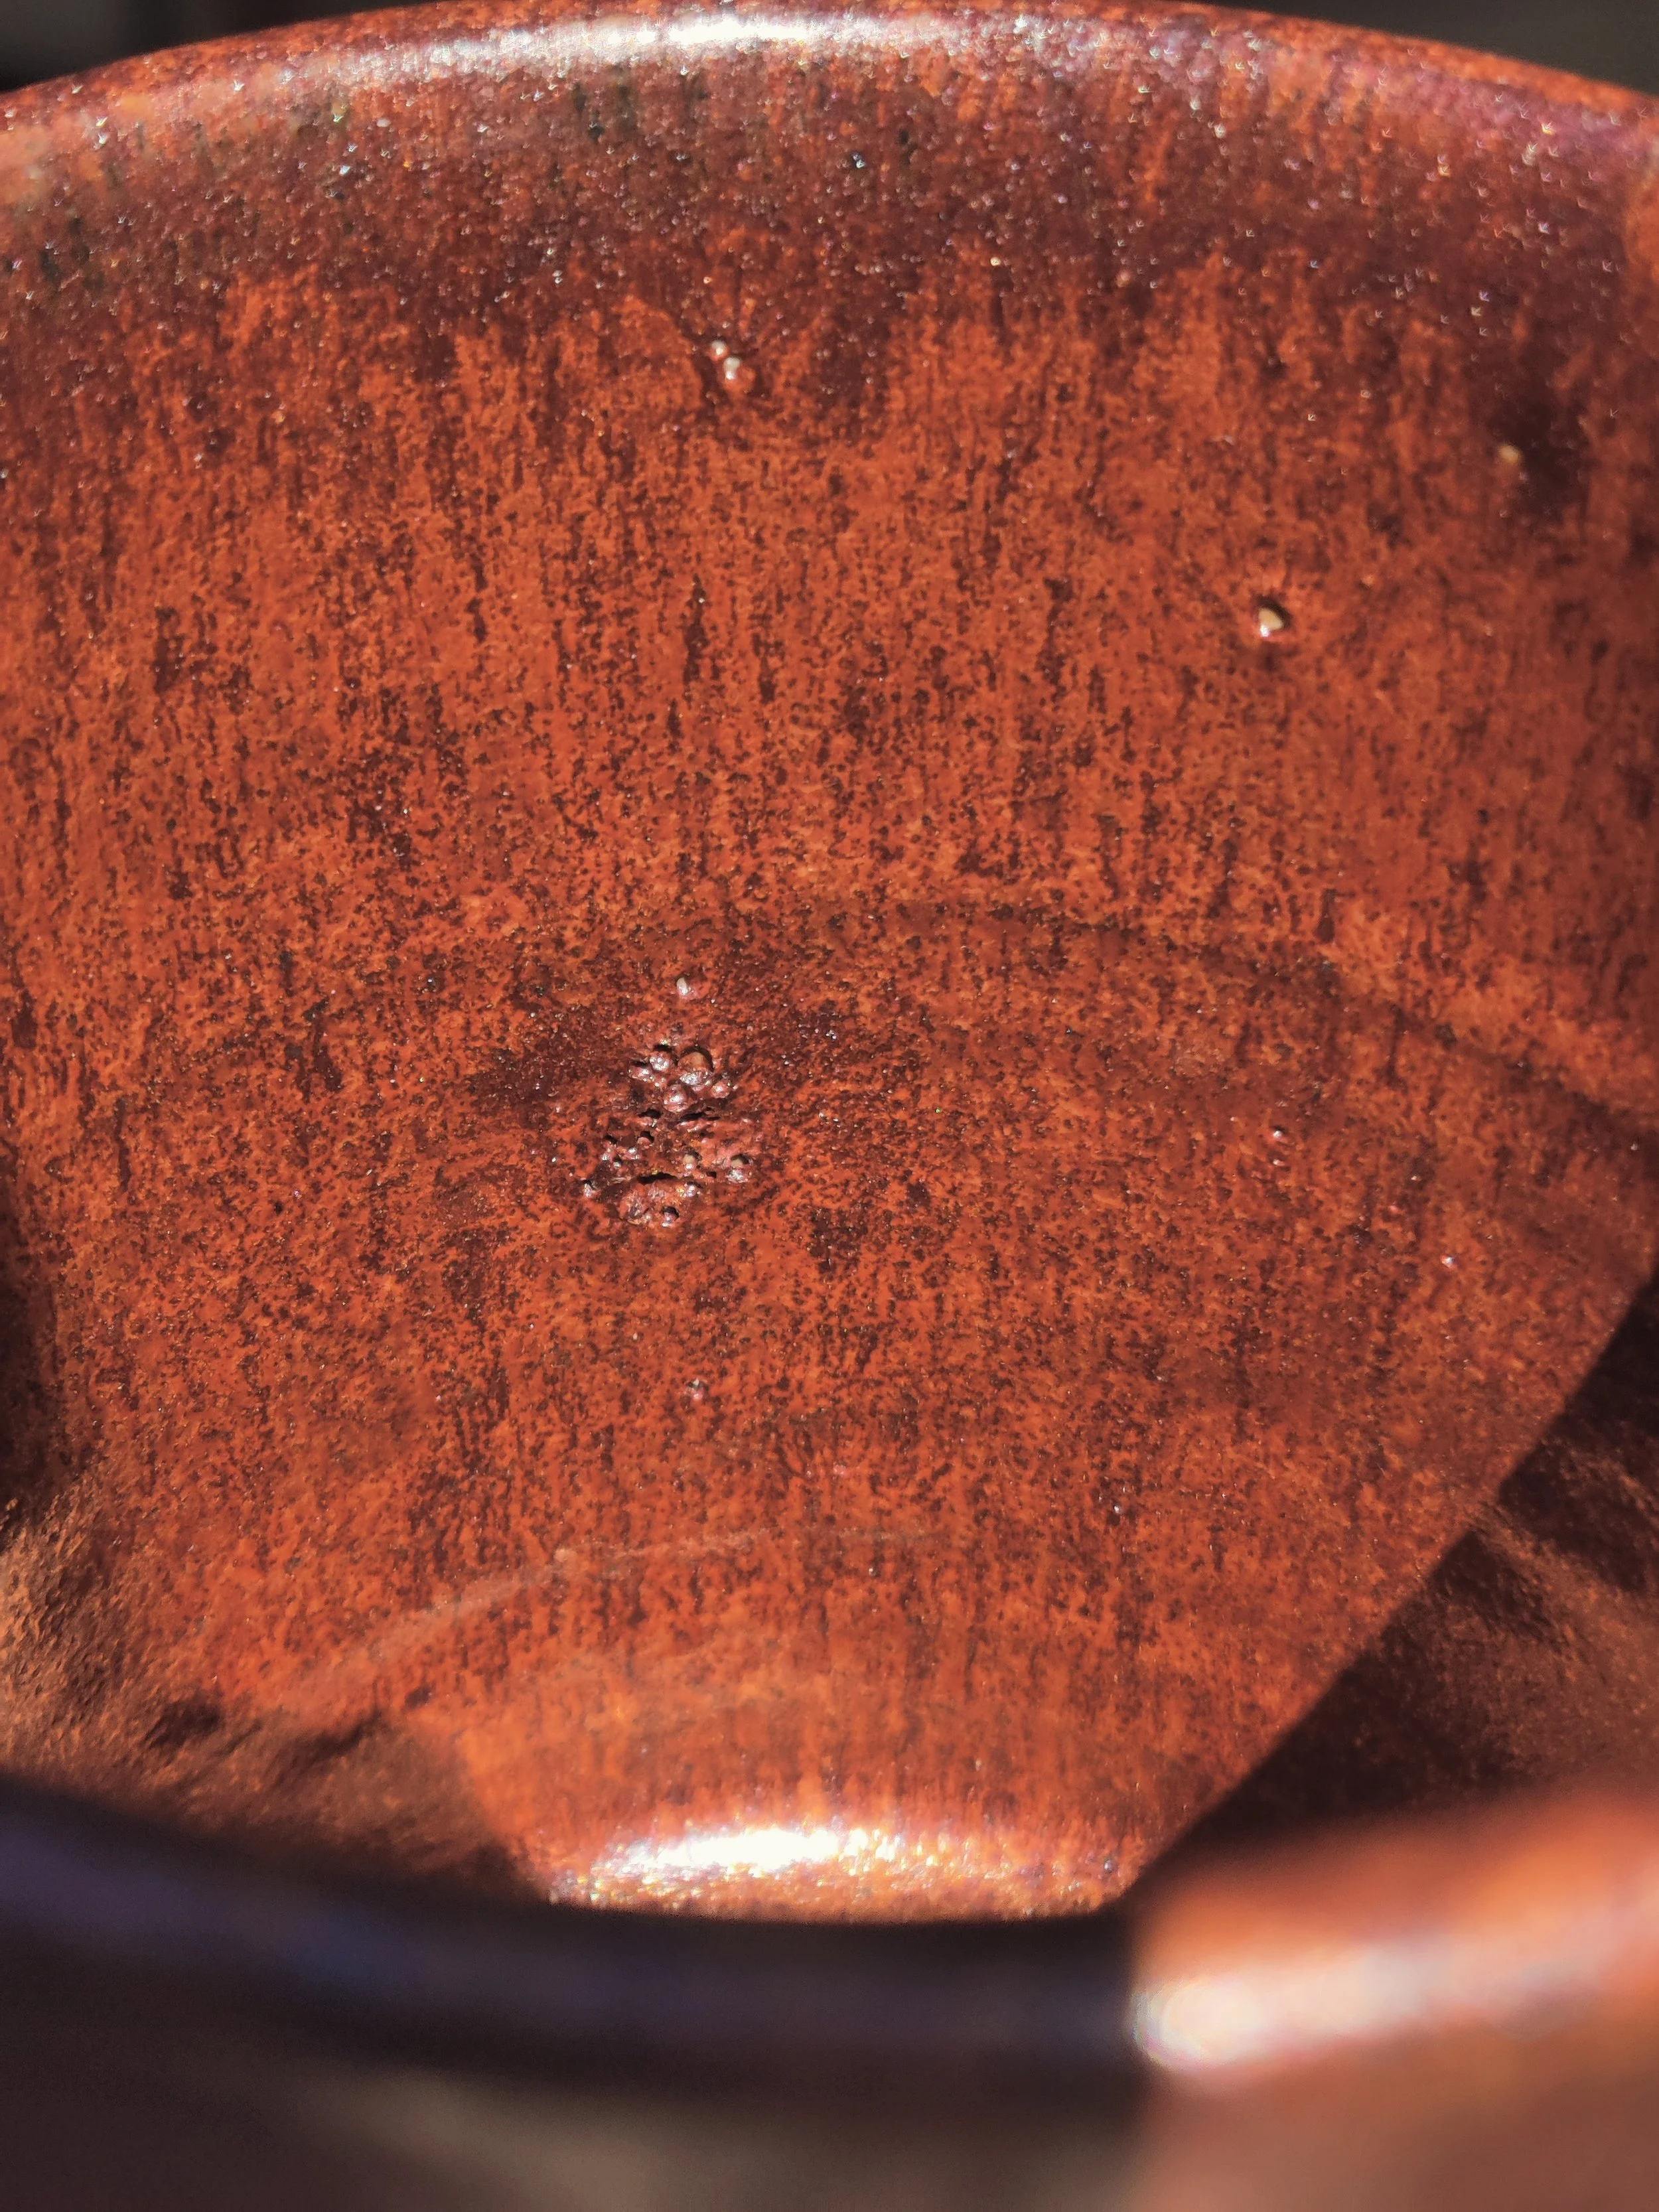
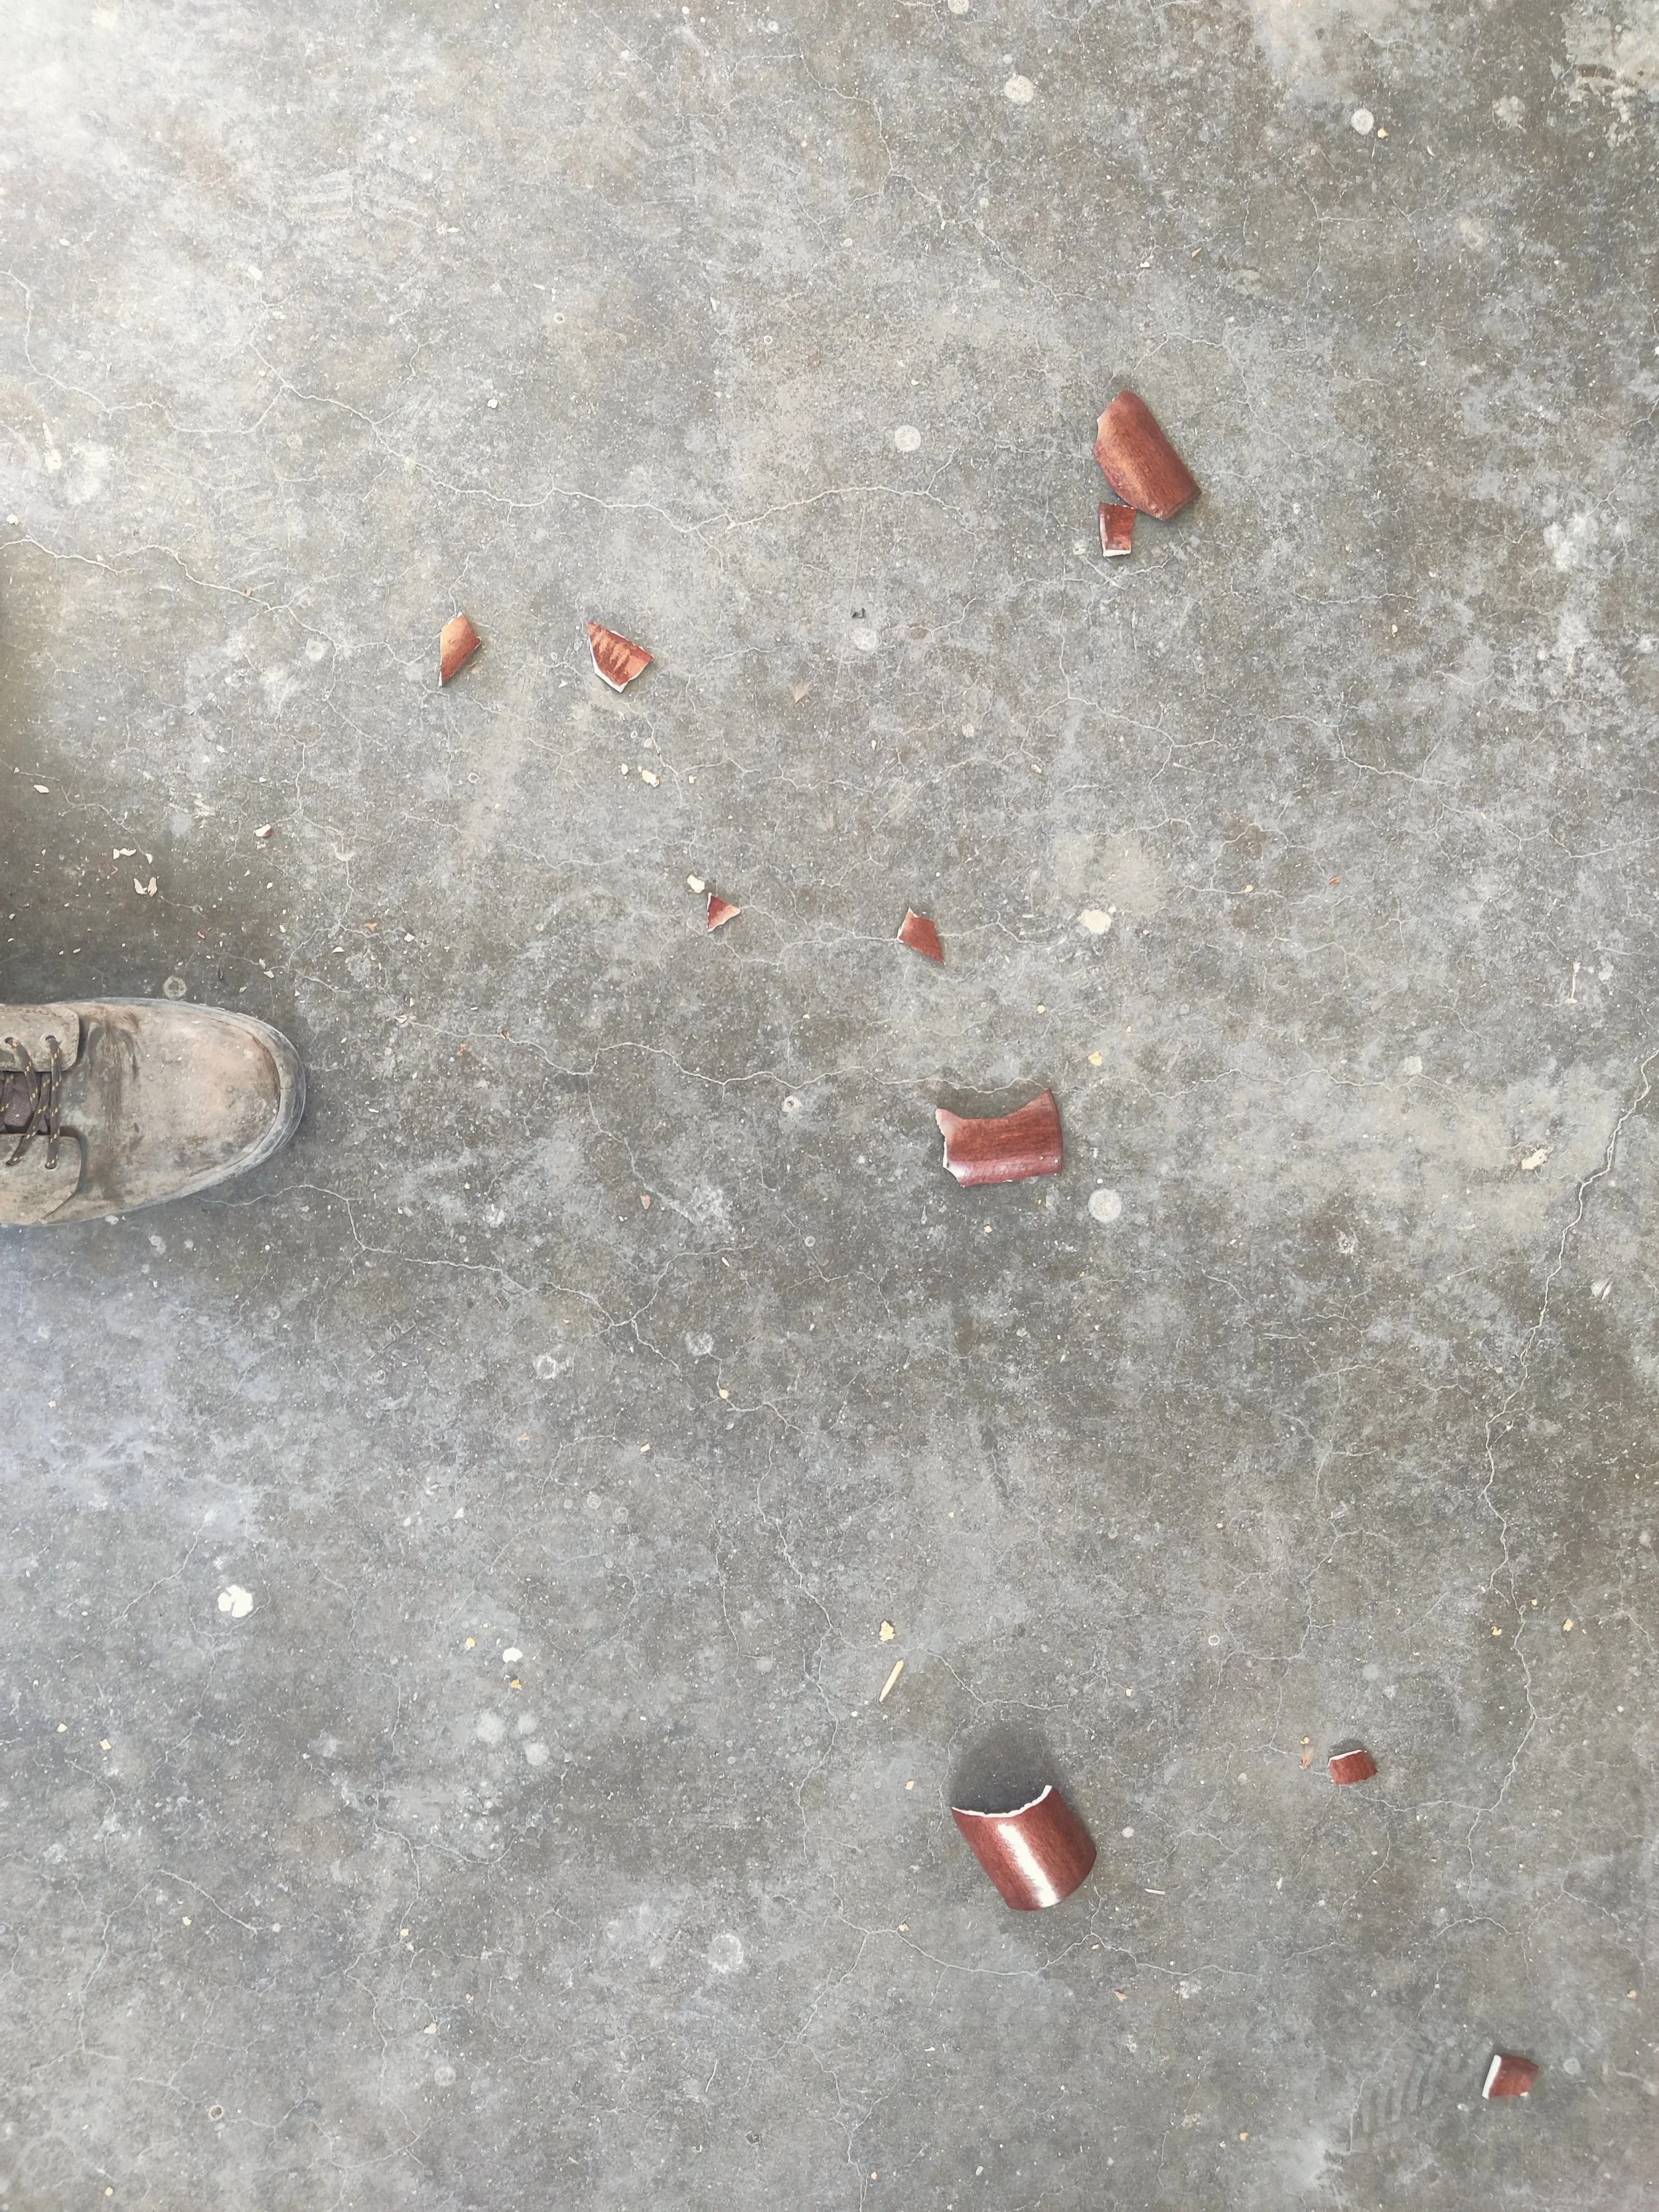
Seems great, right? It’s not all rainbows and sunshine. There seems…..SEEMS! to be a limit to how much you can use. I have tested this a few times and so far it seems too much bismuth messes with the clay or the way the glaze works in suhc a way that it causes bubbles / pitting.
From my testing it seems like there is either a limit to how much bismuth can be used in a glaze or….. you cant put it on the inside and outside of a pot because of something to do with absorption with bismuth glazes. I’m leaning towards the ladder. I will be testing to see if I can put a glaze inside of a cup, let it dry for a few days, then glaze the outside just to see if it’s some type of “clogging”; but that’s a later test.
So I did the only thing a ration person would do… I broke it so I could look under the cheap microscope.
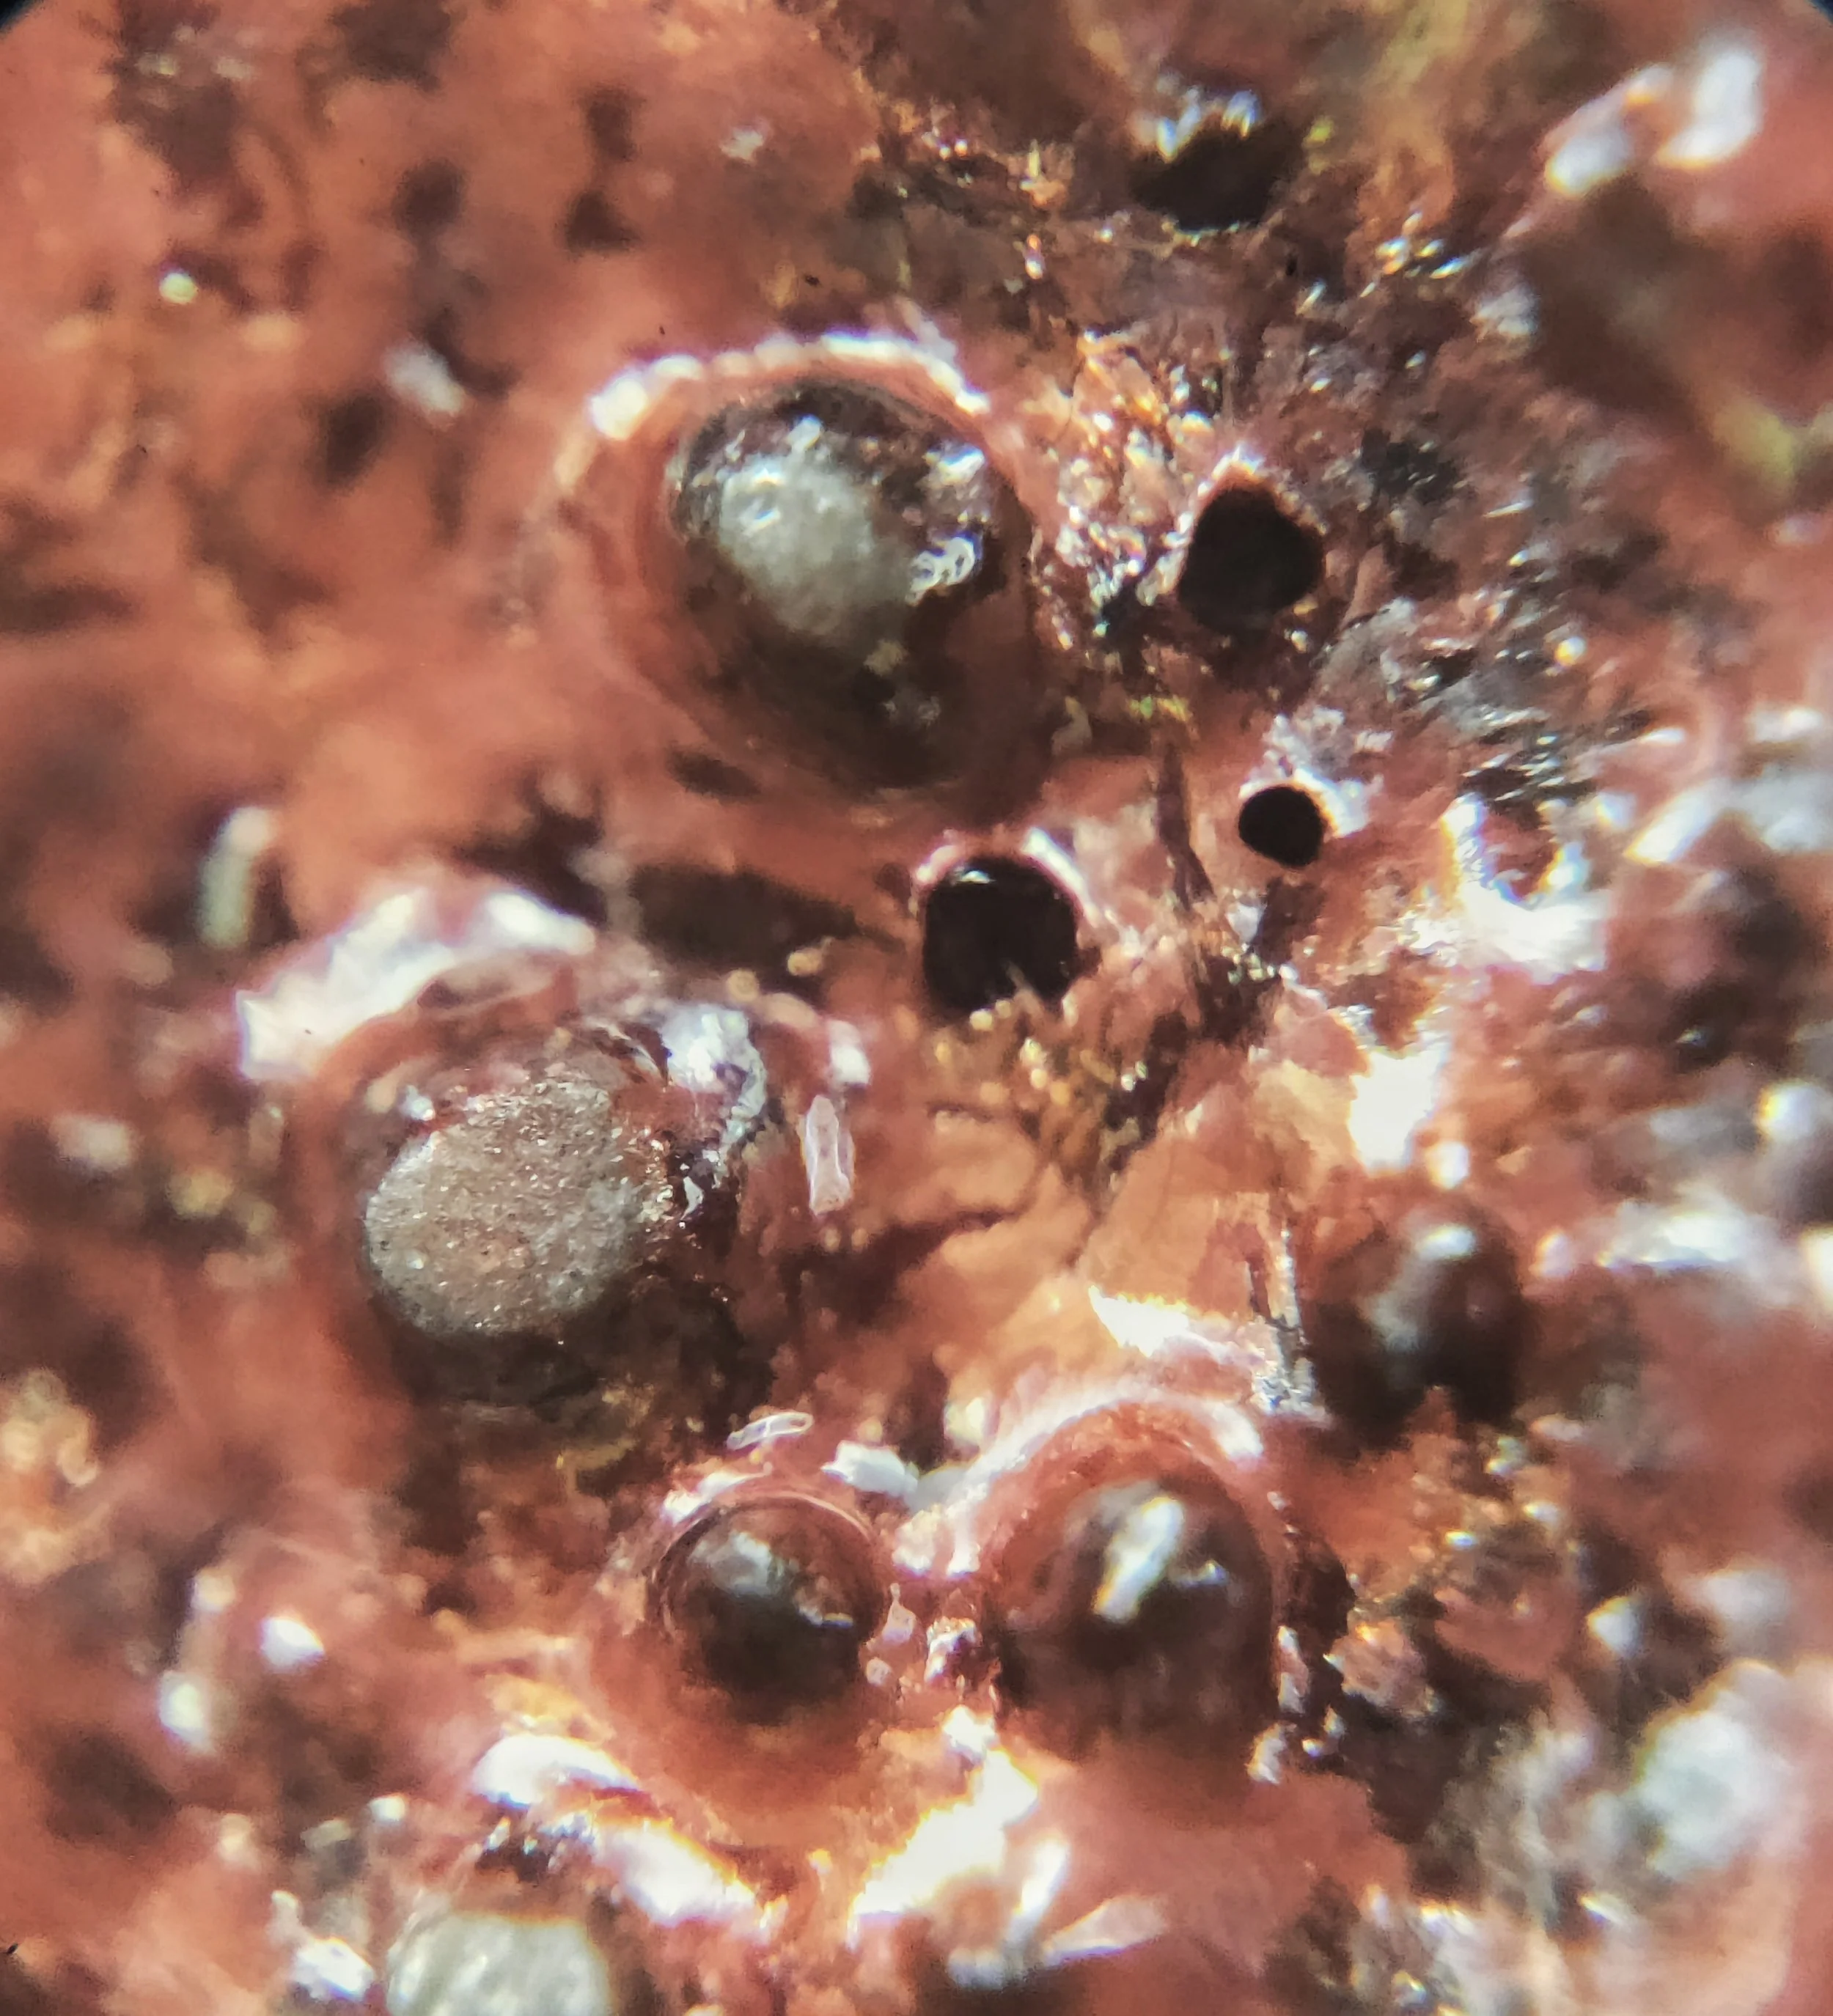
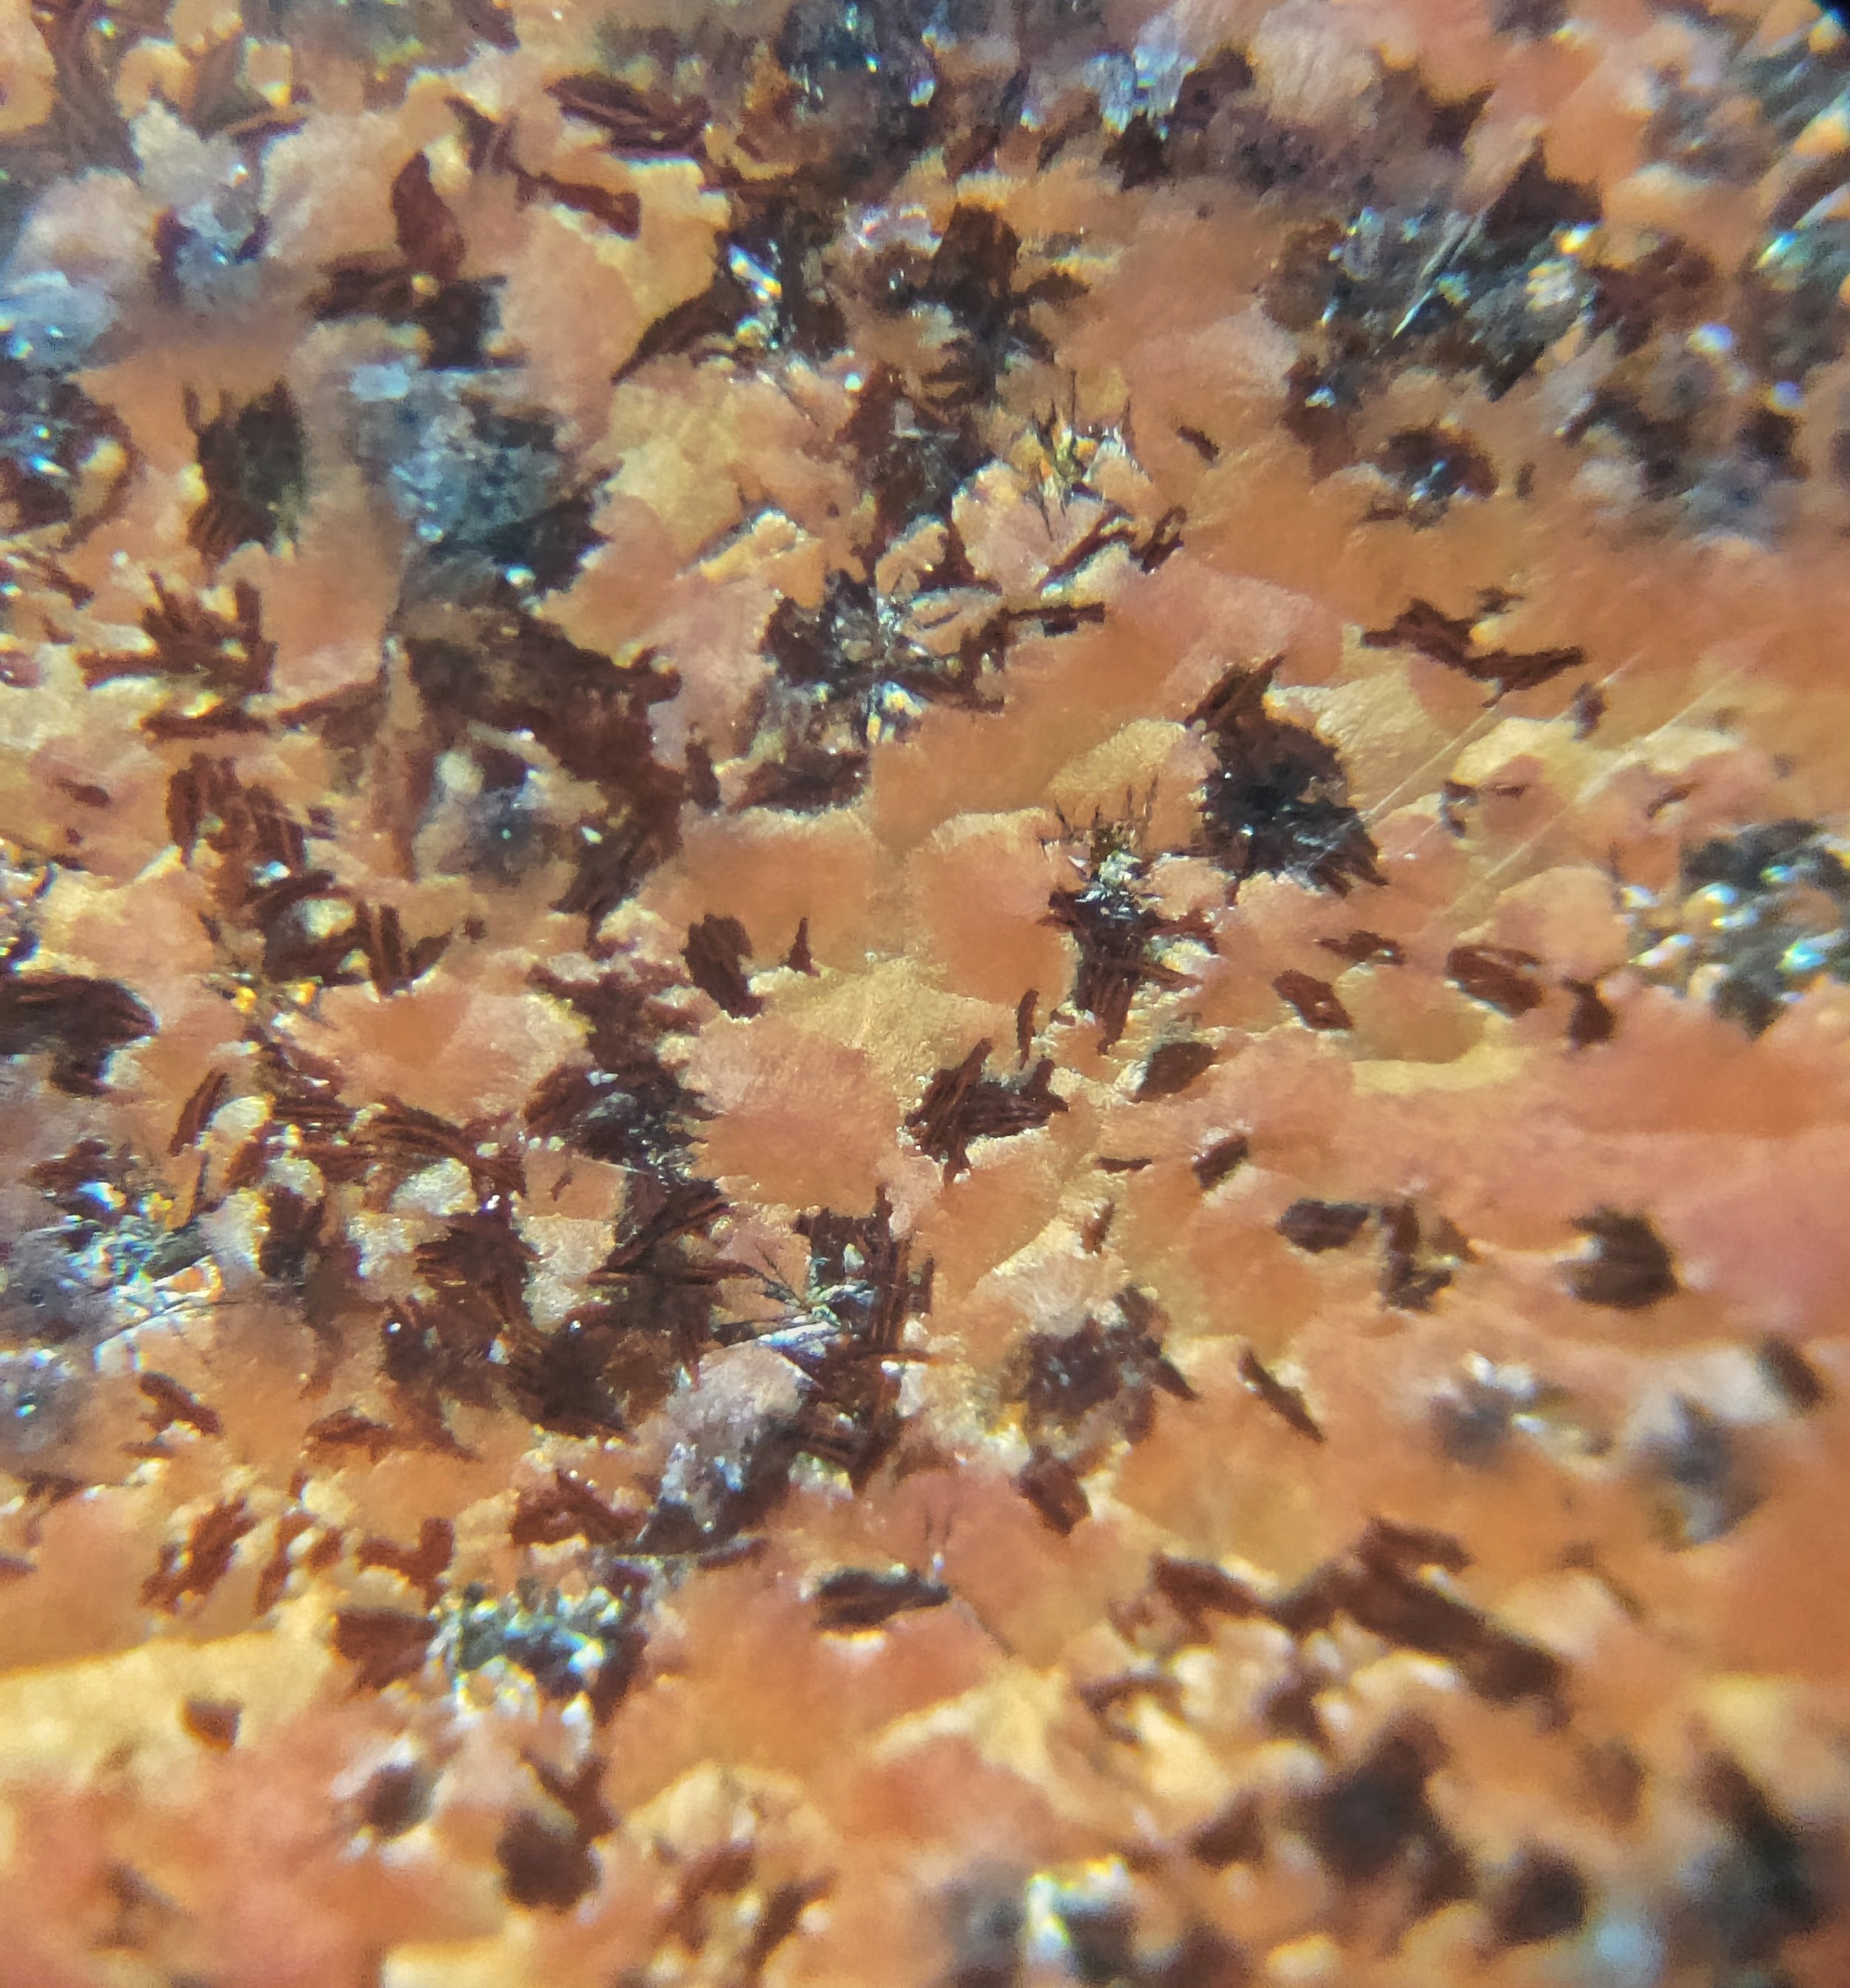
All very interesting. Two thing I think at the moment with bismuth.
#1: works well with crystal glazes in small amounts, that is, low silica and alumina glazes.
#2: Something is up with the absorption of the glaze into the clay pours. I notice the bubbling problem only happens when I put the glaze on the inside and outside of a pot. I will be testing this by seeing it i can glaze the inside and outside of a pit on different days (letting the pours dry) but this seems to be a reoccurring problem with bismuth. Note that the bubbles look almost nothing like pitting, these look different.