
The Silicone line test
I love line tests for glazes. They allow me to keep going with a basic idea instead of remaking a glaze every time. You want to know what copper will do at 1,2,3,4,5%? but don’t want to make 5 different glazes? Boom, Line test. Make the original glaze with 1% copper oxide, test it on whichever tile you want, put 1% more in THE SAME GLAZE and repeat the process. You now have 5 tests for 1 glaze worth of effort. Recently I have been curious about what Silicone carbide would do in my base (the one on glazy) unfortunately I can’t just put 5 little tiles in my huge kiln and fire it with the slow cool I like to do so these were all done in the tester kiln.
From my understanding (and an easy way to explain it, I think) Silicone carbide releases carbon when fired, Usually something that happens a lot more in a reduction kiln. The presence of so much carbon makes some colors turn different colors, like copper turning red. This can be replicated in an oxidation kiln if you add a little silicone carbide with copper because of the localized carbon released by the carbide. At times it turns out a little blotchy but if you can get it just right it looks like a dark red or purple. The main thing I did not expect in this test is the copper and silicone are not as strong as I thought. Even with .1% -.4% up ticks I see no real different till the last tile.
With that being side, here is the line test.
.4% + .2% copper oxide
I started off very little with less than 1% on silicone carbide and less then 1% copper
.4% + .4% copper oxide
.4% + .5% copper oxide
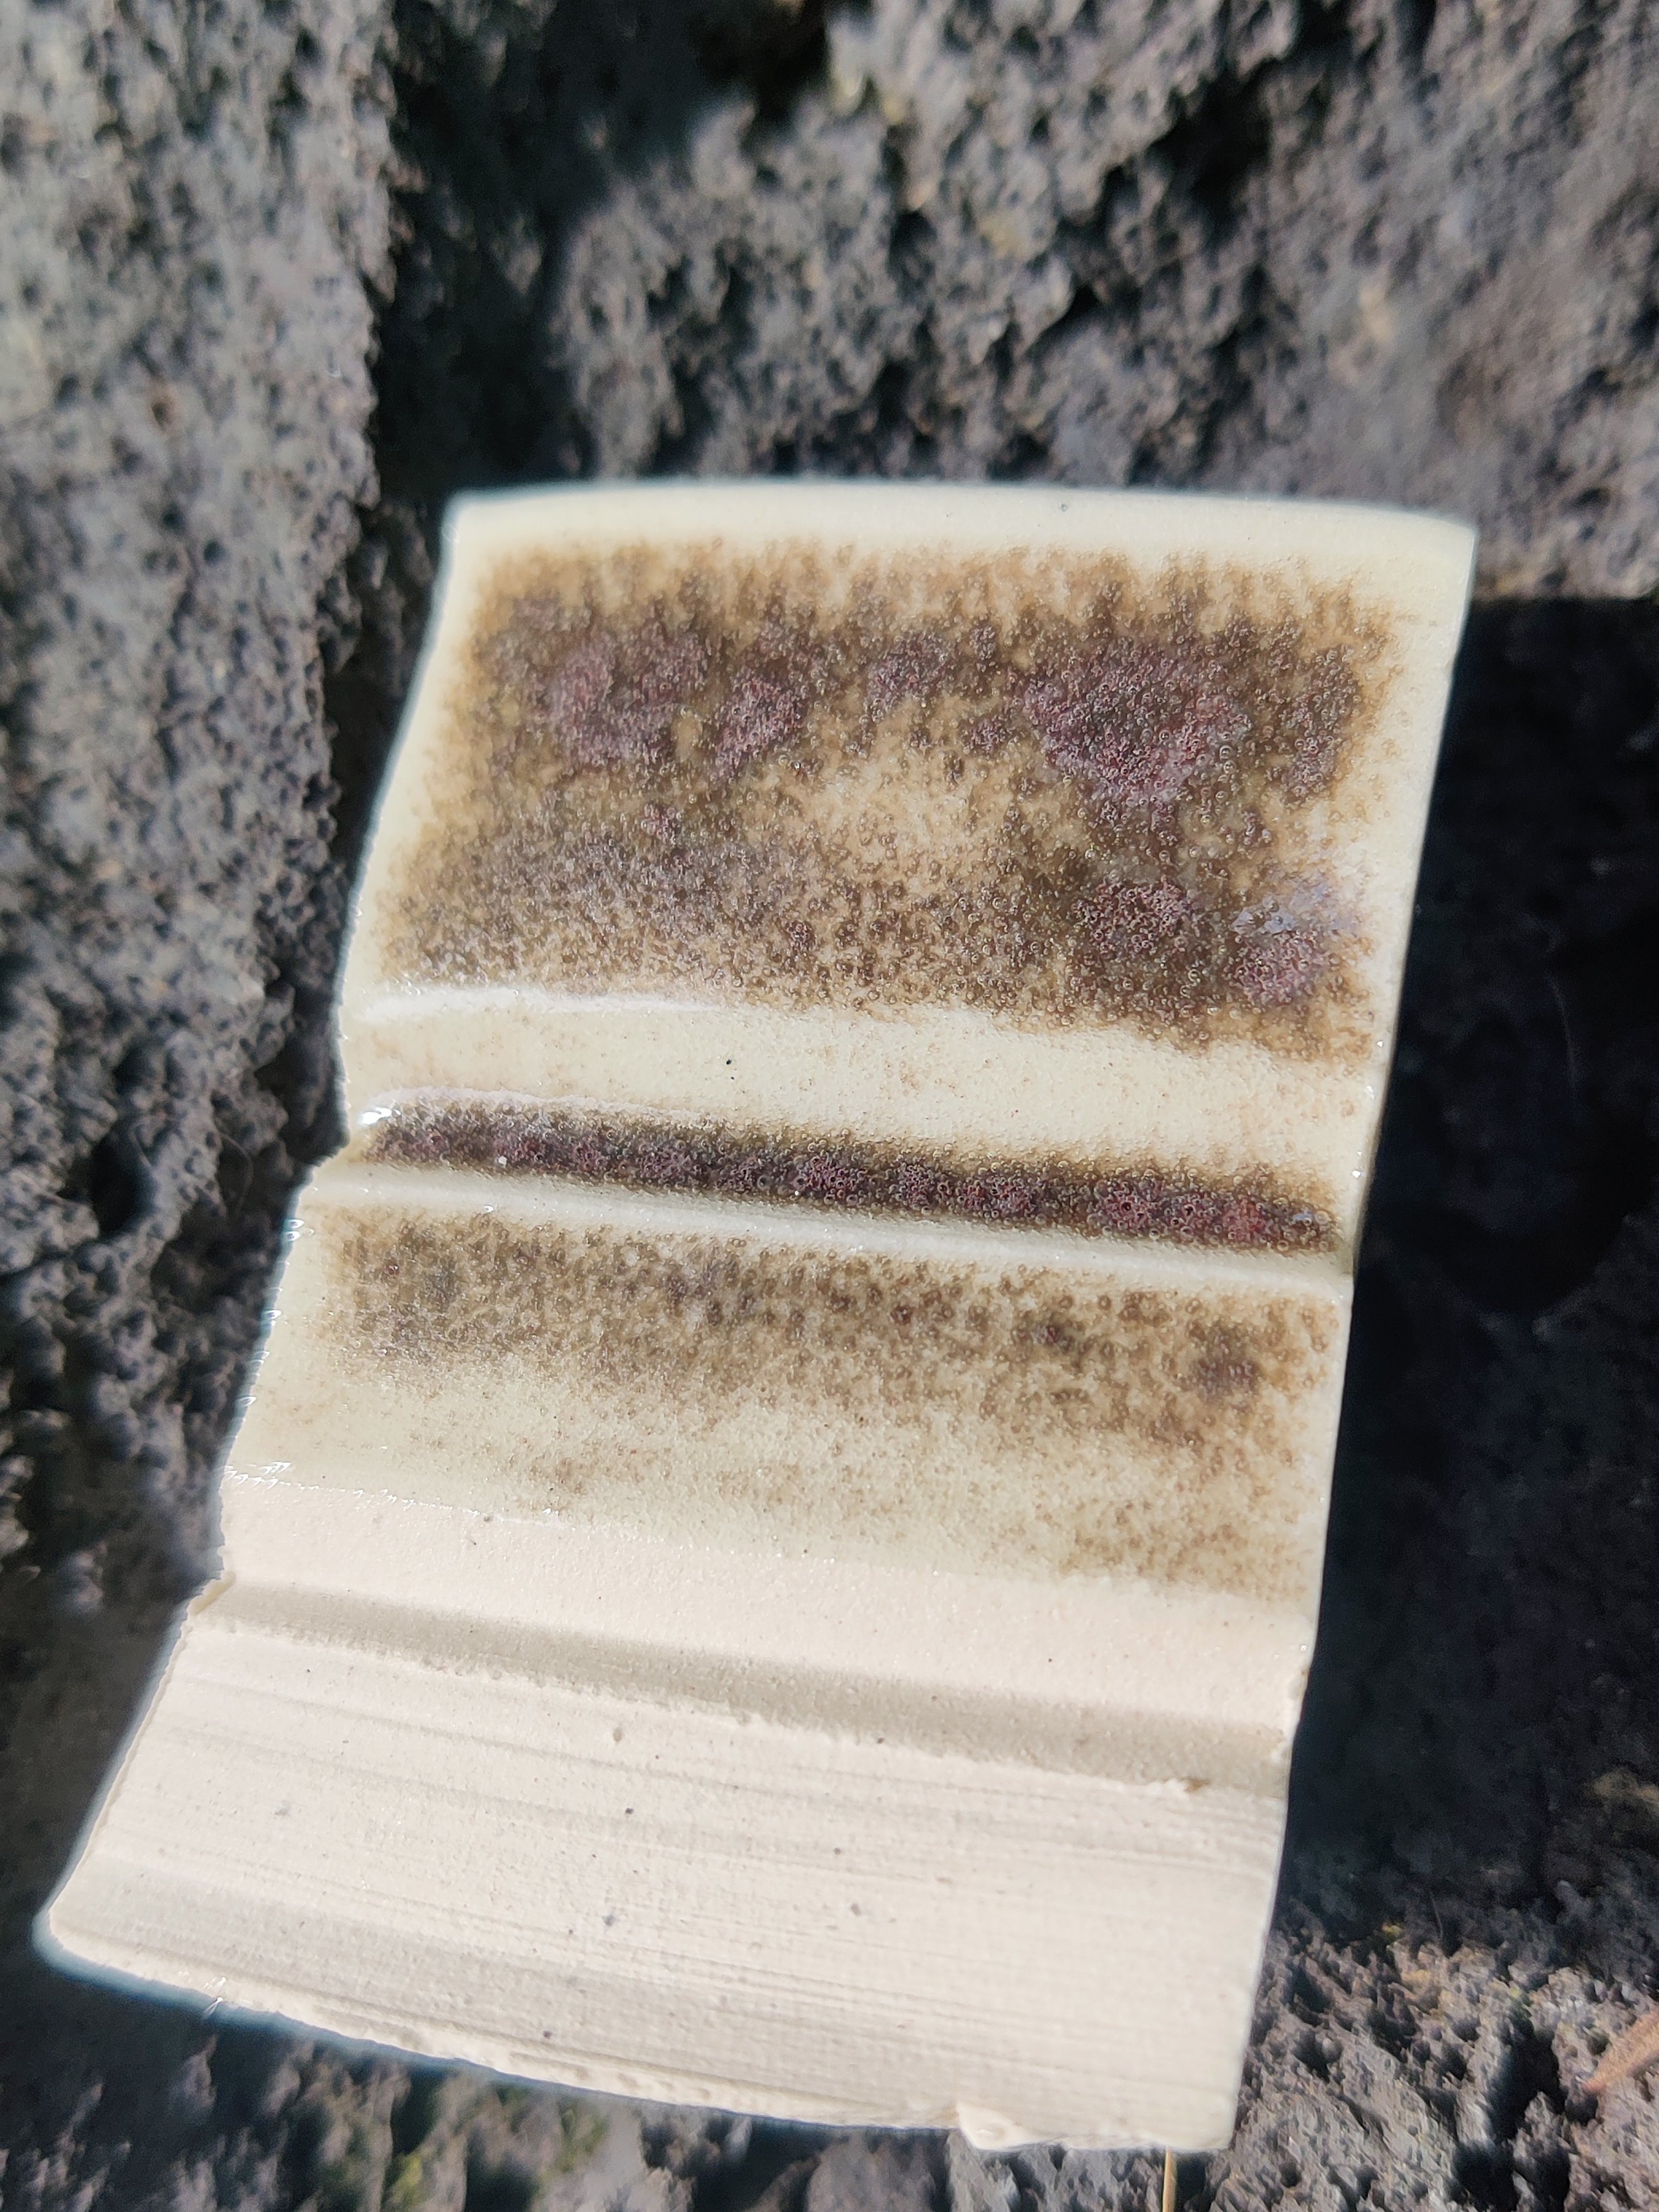
Here You can see the main problem with silicone carbide. At times it makes these little bubbles that pop silica and alumina when broken. Usually I would put these on some sort of cool cycle to let these “cure” for lack of better term.

.8% + .5% copper oxide
Here you can see the copper really starting to do work. At this point I have doubled the amount of Silicone carbide (just to see what happens)

.8% + .5% copper oxide + 1% tin oxide (notice how much more bright it is with a little bit of tin).
This last one was a surprise. I’m sure others knew this but I did not. The Tin oxide at 1% made it look so much brighter! Instead of a dark purple color we get a nice red. I’m sure if this test was in the large kiln the little bubbles would cure out and we would have a good glaze. I will continue this test, probably with a little more tin just to see how ligh5 I can get it without drowning out the color.

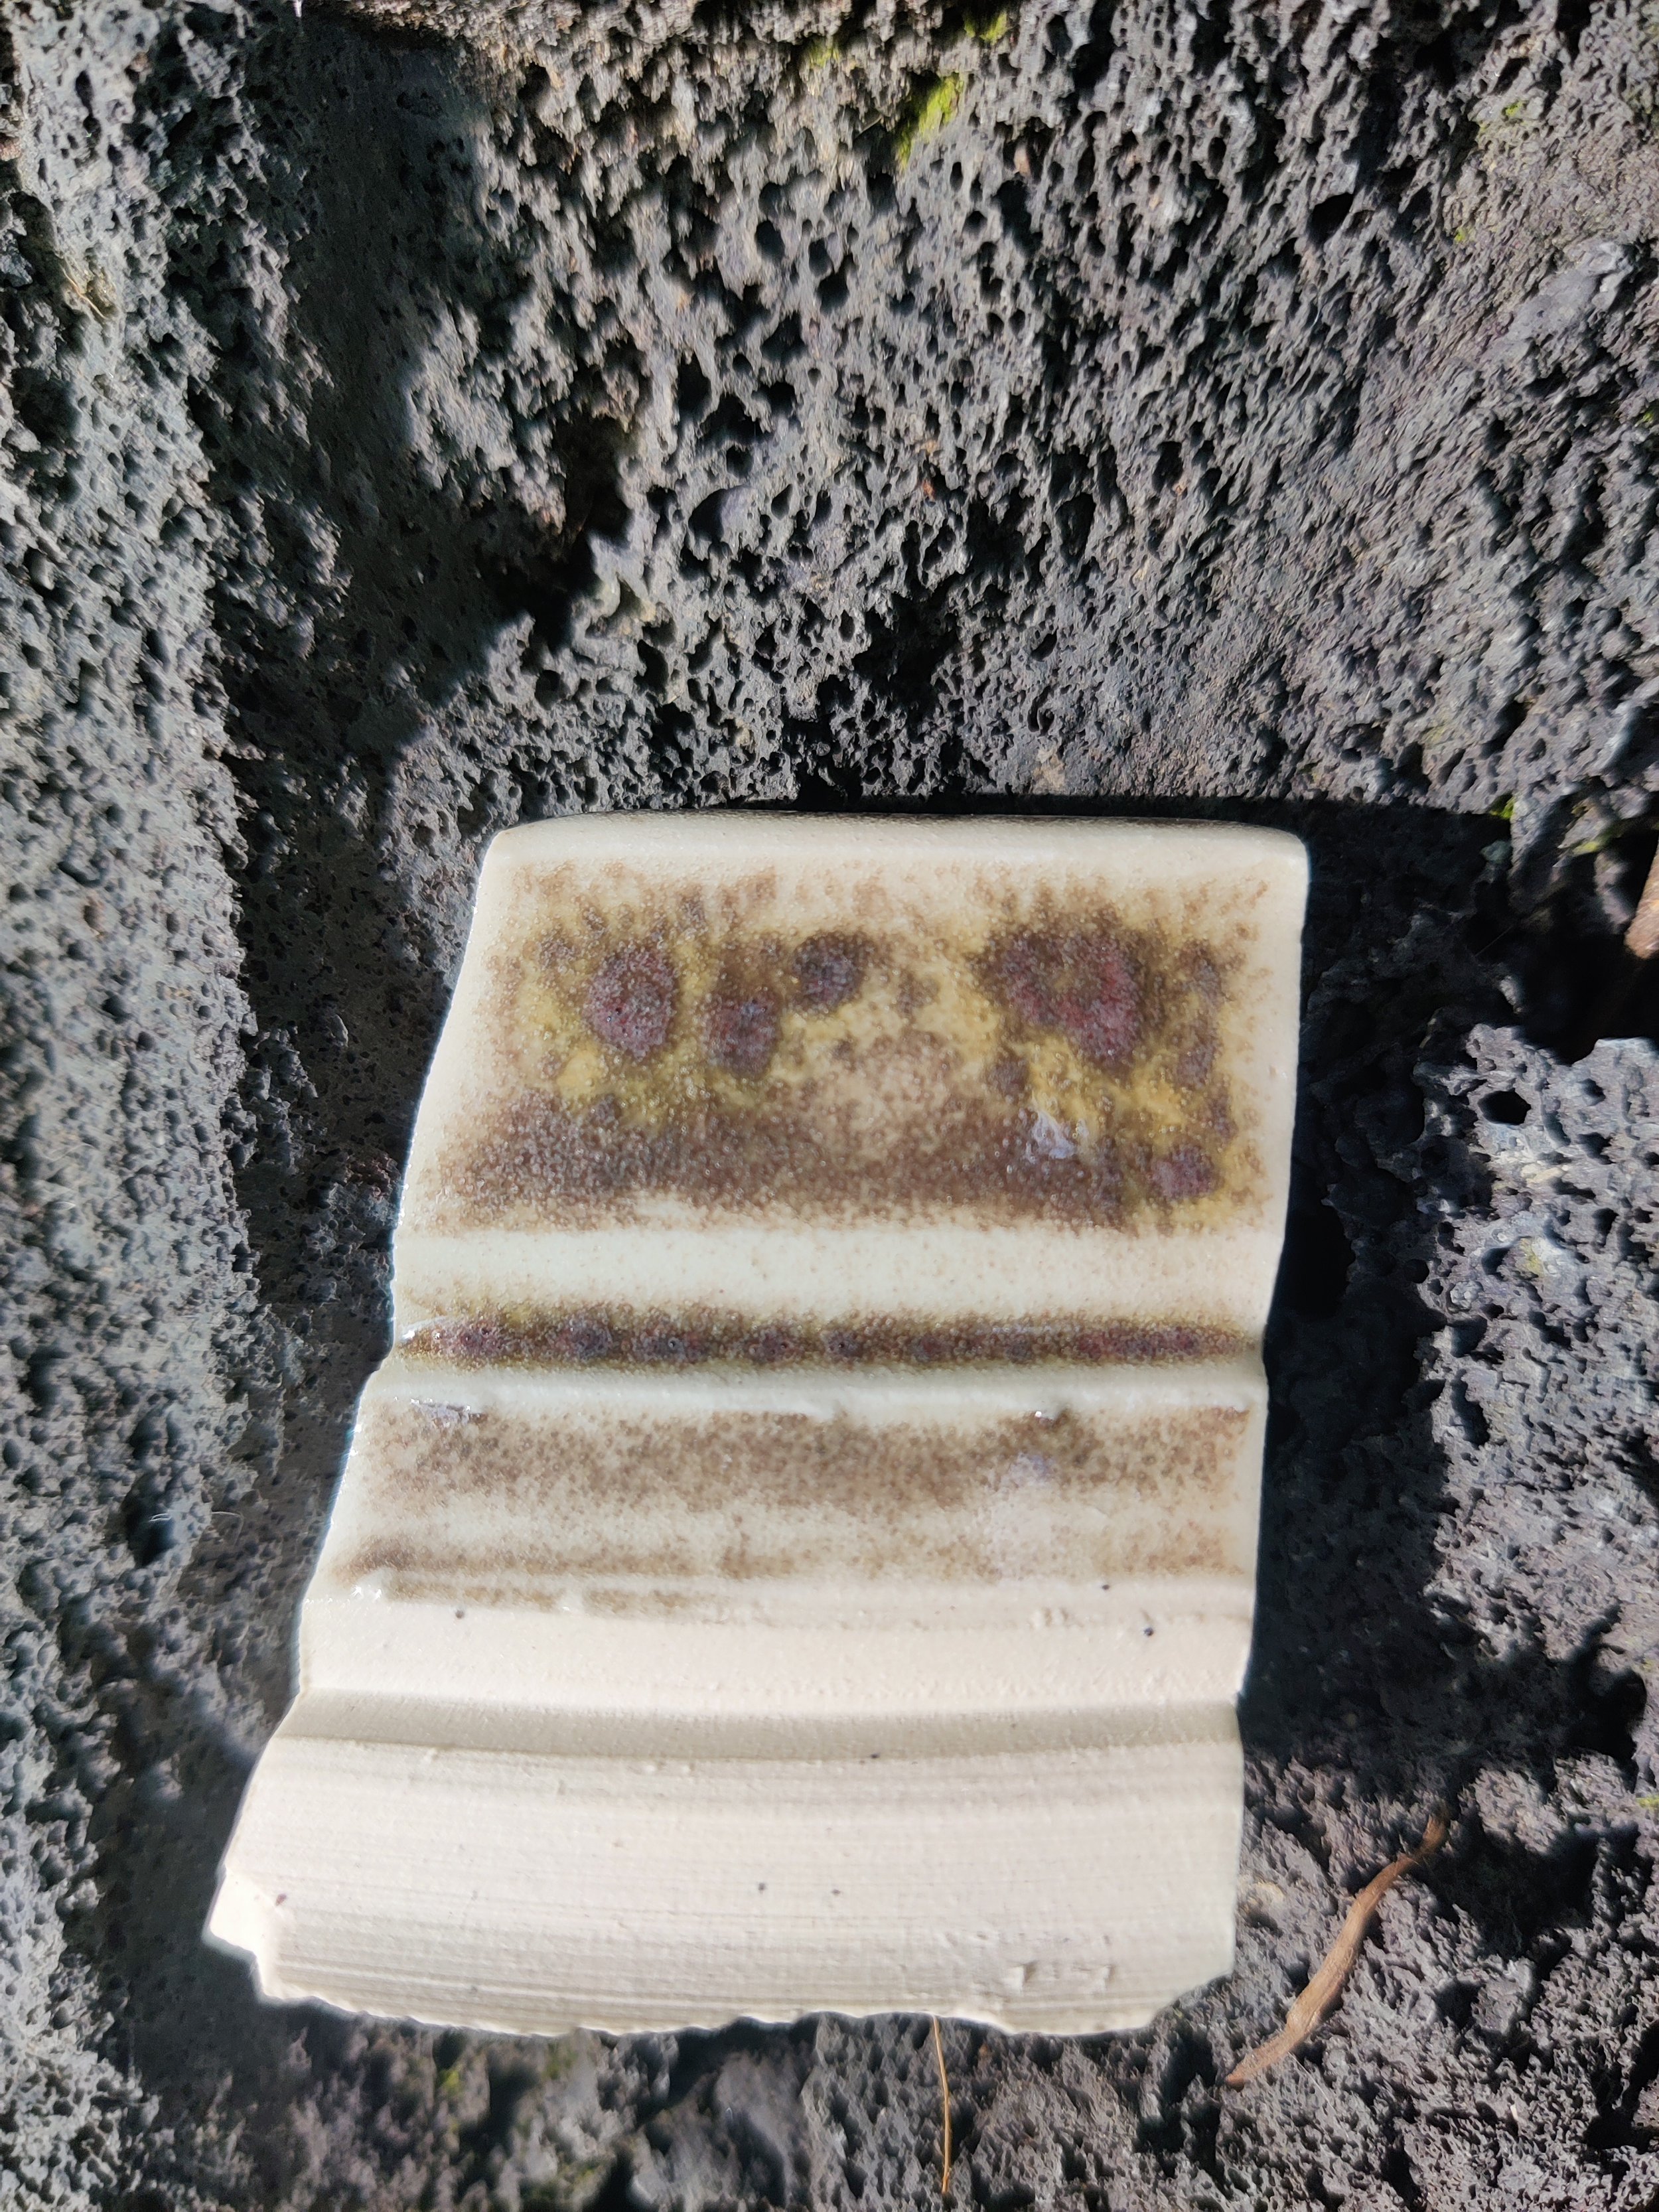
From left to right
.4% + .2% copper oxide
.4% + .4% copper oxide
.4% + .5% copper oxide
.8% + .5% copper oxide
.8% + .5% copper oxide + 1% tin oxide (notice how much more bright it is with a little bit of tin).
